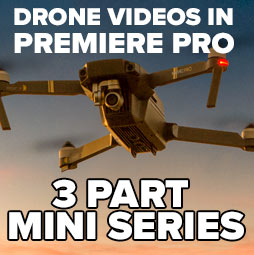

Many of you have purchased a drone and are having a lot of fun shooting photos and videos. Perhaps you are wondering where to start with video? In association with Adobe and Seagate, I have created this little 3-part mini series to help you get started editing your aerial footage with Premiere Pro CC. We will start from the very basics and move through the entire workflow and show you how to edit, color correct, smoothen, resize, add music and titles and output your polished video to youtube. enjoy!
Part 1: Adobe Premiere Pro CC + Drones mini-course #1: DJI FlyDrive – basic drone video editing
See the Seagate DJI Fly drive on location. Learn how to assemble your drone footage in Premiere pro. Do a rough cut, quick color correction and publish video to youtube.
Part 2: Dramatic speed-ramp effect- smoothen movement, resize 4k video in Adobe Premiere Pro CC
Learn how to do a video speed ramp effect in Premiere Pro, smoothen your drone video movement with warp stabilize and recompose 4k into a HD screen.
Part 3: Cinematic Color grade – add music – titles in Adobe Premiere Pro CC
Learn how to add polish to your drone videos in part 3 of the drone premiere pro mini-course. Add cinematic color grading, add life with music in Premiere pro and add titles to describe your videos to your audience.
More info on the DJI Fly drive
Thanks for watching!
I hope you enjoyed this little mini-series. If you did, let me know in the comments!
Great to see you here at the CAFE
Colin
PS Don’t forget to follow us on Social Media for more tips.. (I’ve been posting some fun Instagram and Facebook Stories lately)
You can get my free Layer Blending modes ebook along with dozens of exclusive Photoshop Goodies here