

Photo editing in LAB color in Photoshop to get amazing texture and color and how to mask your photos for extra punch
In this tutorial I’m going to show you Photo Editing with LAB in Photoshop. You’ll learn how to take control over the detail, texture and color of your photo in an amazing way. We’re going to be doing that using LAB Mode and you’ll also learn couple of useful tricks along the way.

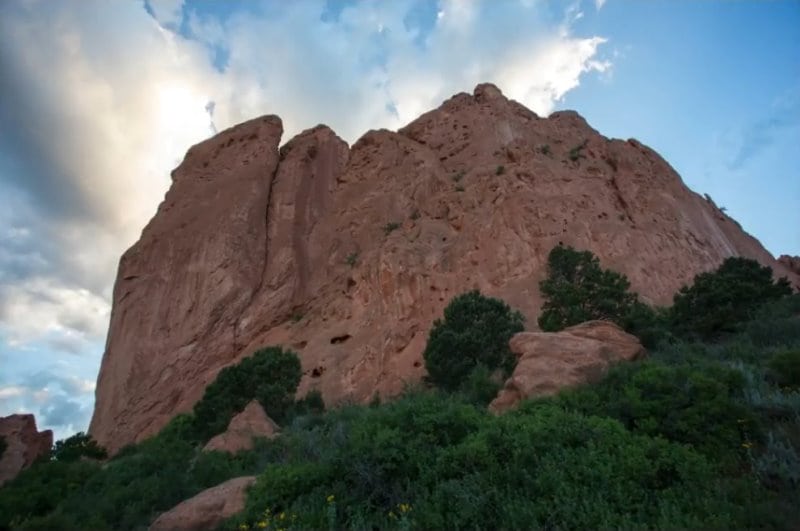
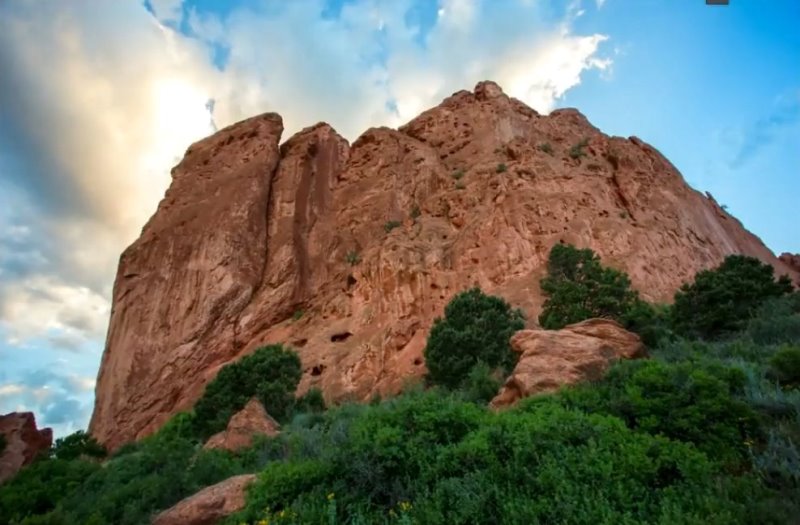
I started with this photo.
Step 1
Choose Image>Mode>Lab Color
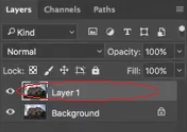
Hit Ctrl J to make a duplicate layer ()Just so we can easily see a before / after when we are done)
Step 2
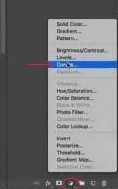
Next, create a Curves adjustment layer.
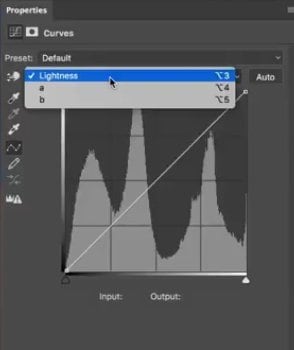
Instead of RGB, you’ve now got Lightness, a and b. (LAB)
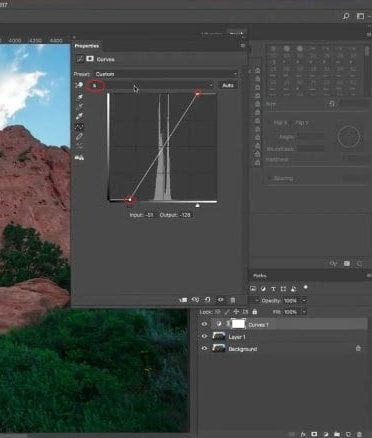
Step 3
Select A channel and adjust curves as shown (dragging to the 1/4 mark)
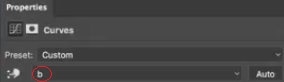
Step 4
Switch to B channel and pull that line to about the same amount as you did with channel A.
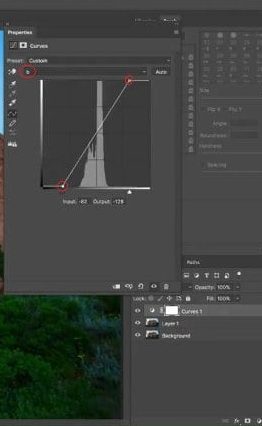
You will now see a boost in color
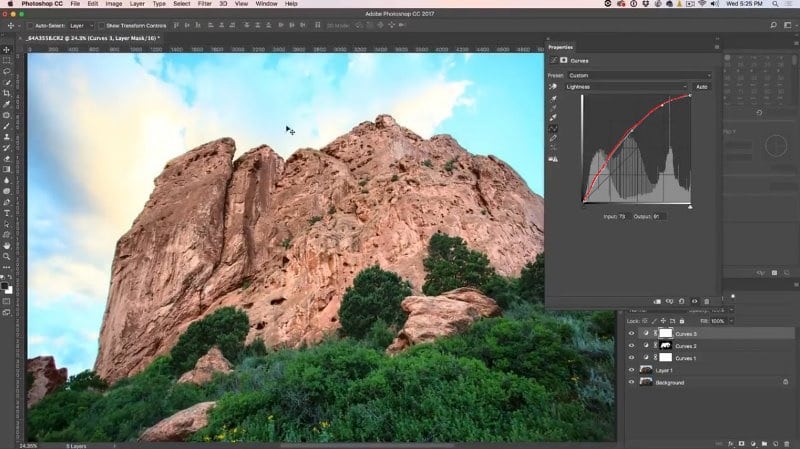
Step 5
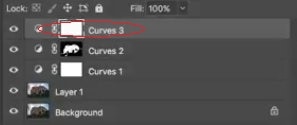
Create a second Curves adjustment layer.(You can usully apply this adjustment to the same adjustment layer, but I want to be able to separate color from tone )
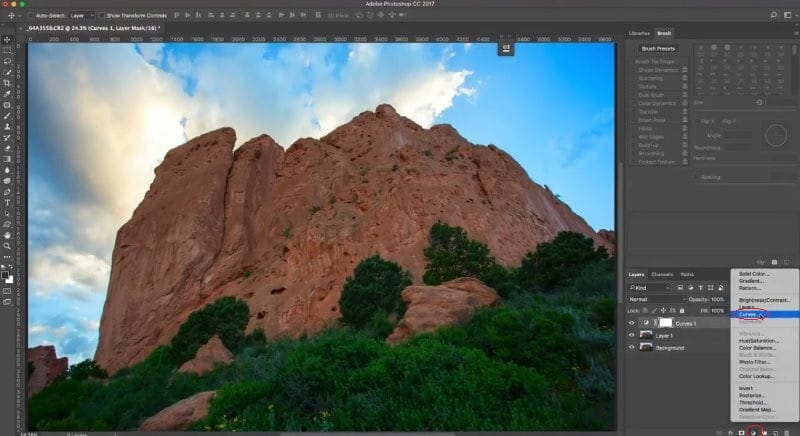
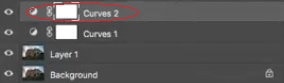
Under Curves Properties, select Lightness and pull that line to make details stand out.
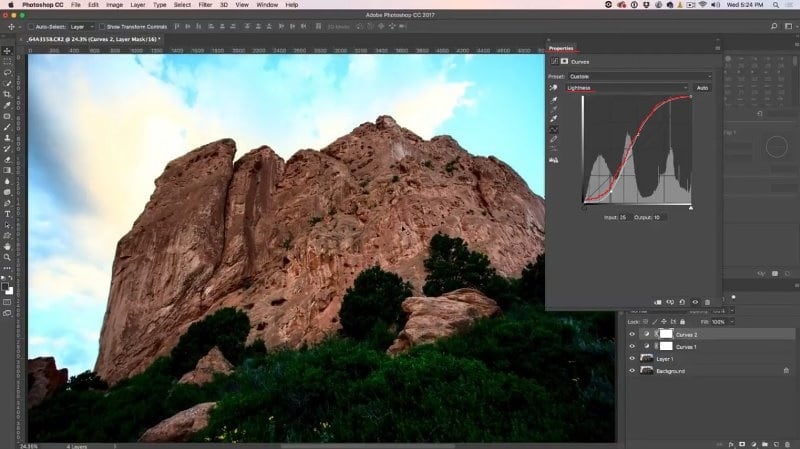
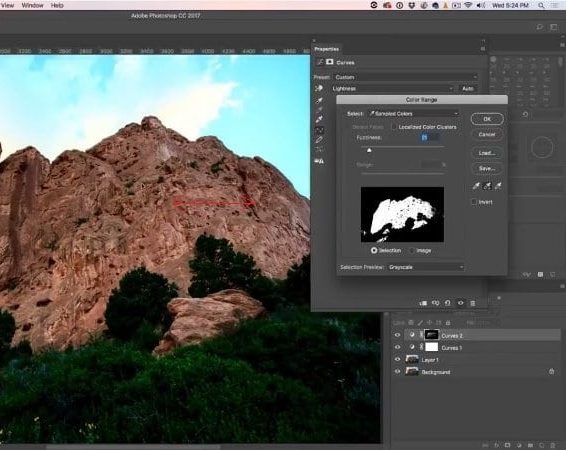
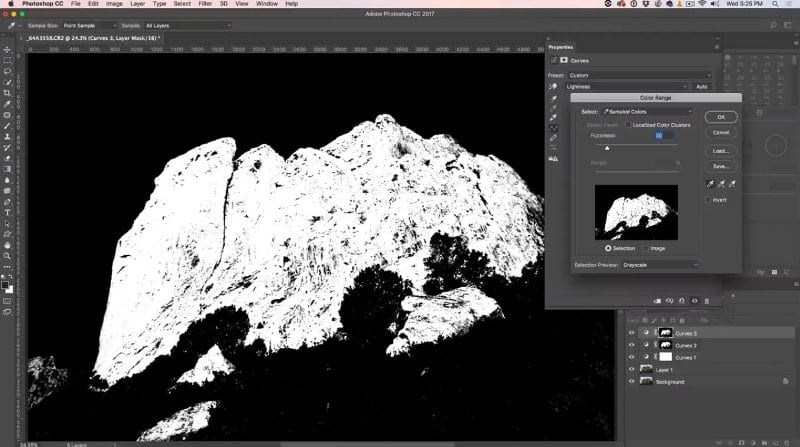
Step 4 Isolating the adjustment to the rocks only
With the mask selected, choose Select>Color Range
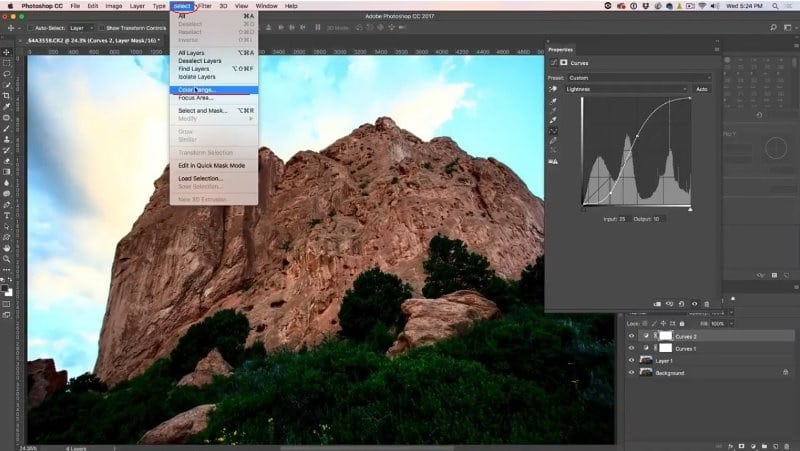
Step 5
With the eyedropper tool. Click inside the rock area to select it
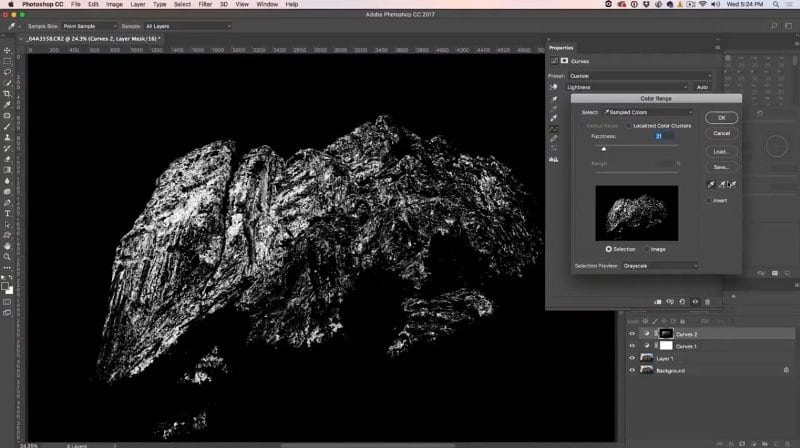
Hit the eyedropper with the little +.
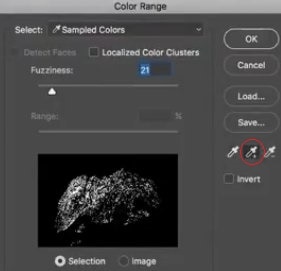
Drag it through the rock area to add it to the selection
step 6
Adjust fuzziness to make sure you’ve selected most of the rock and nothing else.
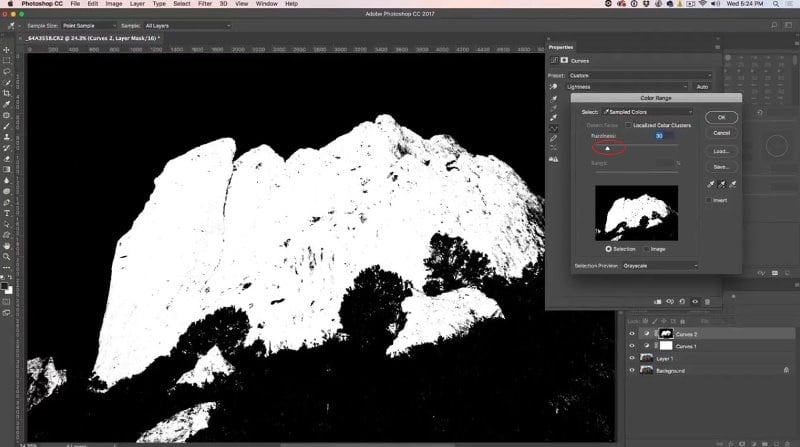
Click OK.
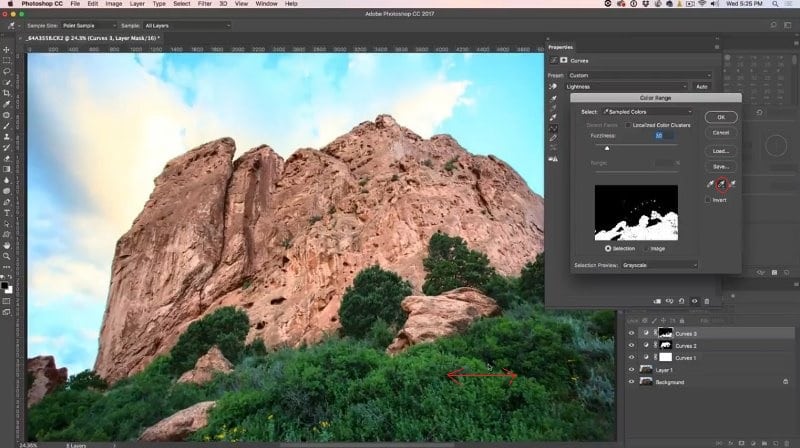
Now just the rocks have the contrast adjustment applied and not the trees or sky.
Rocks Before/After.
Step 7.Isolating an adjustment for the trees
Create a new Curves adjustment layer.
Step 8
Adjust the curve to add details to the trees without affecting the color (Don’t worry about the rest of the image)
 .
.
Step 9
We want to isolate the effect to trees only.
With the mask selected, choose Select>Color Range
Click inside the tree area.
Step 10
Hit that small eyedropper + icon.
Click on the tree area and drag it a little bit.
Now you’ve got the green area selected.
Click OK.
Note the difference between the trees Before/After.
Step 11 Going back to RGB mode
Go to Image>Mode>RGB Color
Click Flatten.

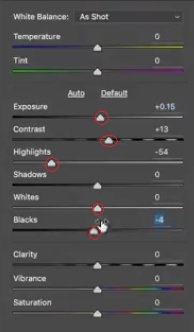
Step 12 Finishing touches
Open the image in Camera Raw Filter.
Filter>Camera Raw Filter
I have adjusted Highlights, Exposure, Contrast, Blacks and Whites.
Here’s the final result.
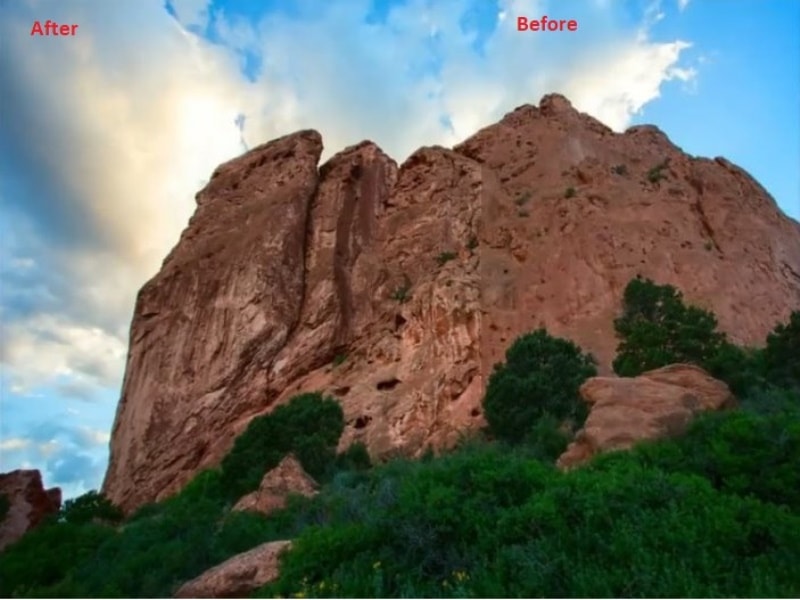
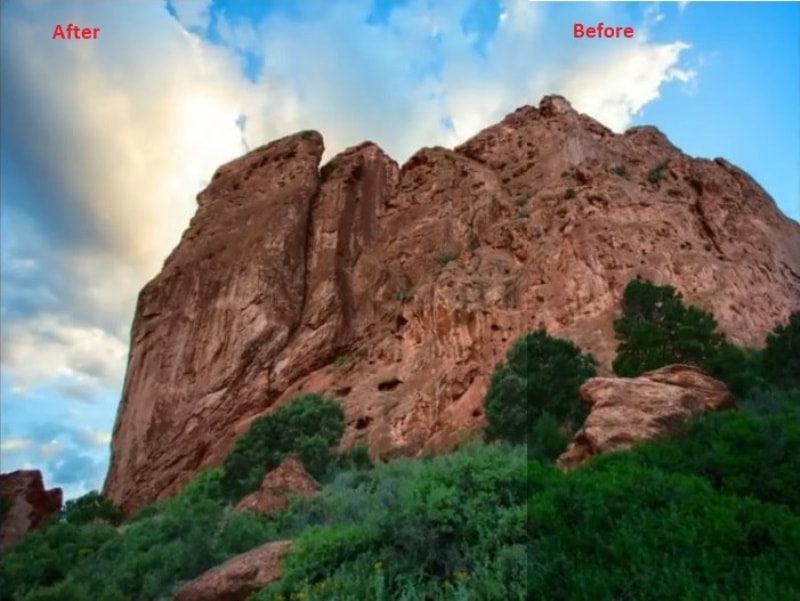
Here is the photo we started with and the final-result photo side by side.
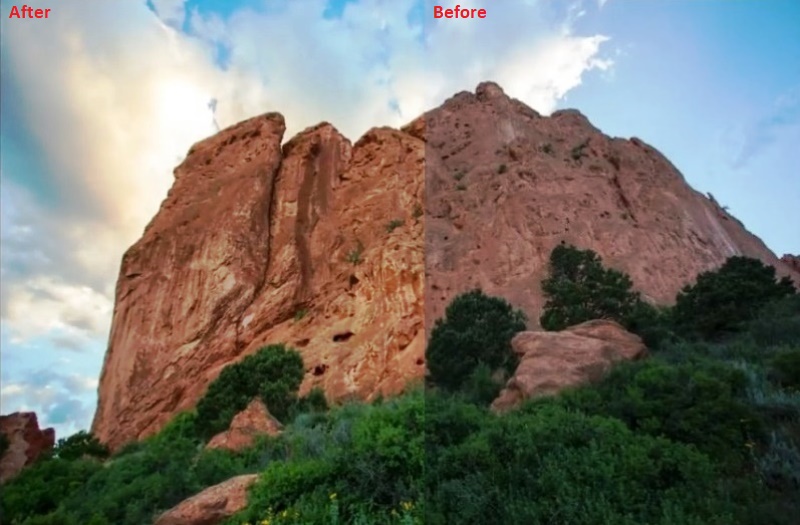
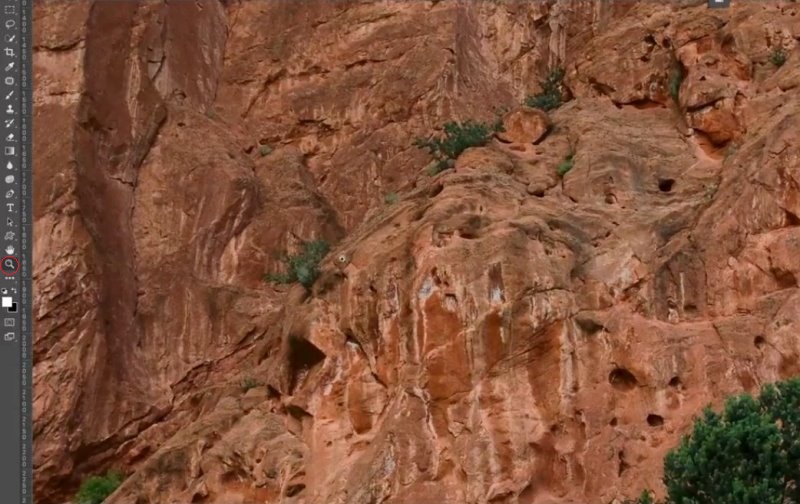
Zoom in to see the details and texture
.
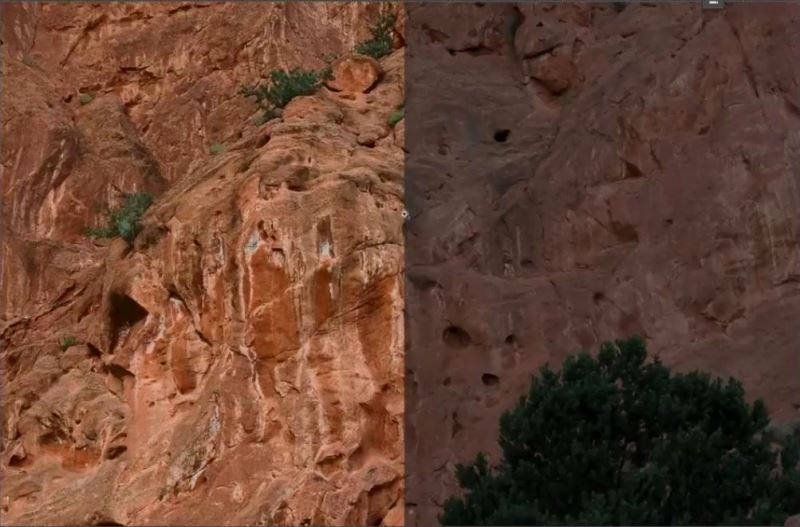
Place the Before/After photo side by side.
Zoom in to compare the differences in details and texture.
Thanks for checking it out!
Isn’t this technique amazing? If you like tutorials like this one, please subscribe to our newsletter so you don’t miss new tutorials coming out every week. Add a comment! Let’s get a discussion going.
And until next time, I’ll see you at the Cafe.
Colin
PS Don’t forget to follow us on Social Media for more tips.. (I’ve been posting some fun Instagram and Facebook Stories lately)
You can get my free Layer Blending modes ebook along with dozens of exclusive Photoshop Goodies here 


