There are 2 options for out line fonts. The first, is an effect where you create an outline on the type, such as a stroke or bevel.
 outline effect .
  for Photoshop CC here
The second type of outline, is for quality, flexibility and production work, this is covered in this tutorial.
A great thing about text, or type in Photoshop is that it’s vector, as all real fonts are. The only problem is when you want to do certain types of transforming, you have to rasterize. As soon as you rasterize, it’s no longer text, but a bitmap, which can’t scale without losing quality. This tutorial gives you an alternative to rasterizing, where you keep the quality of the text, no matter what. This is also what you do when sending something off to print to some printers that ask you to outline your fonts before printing.
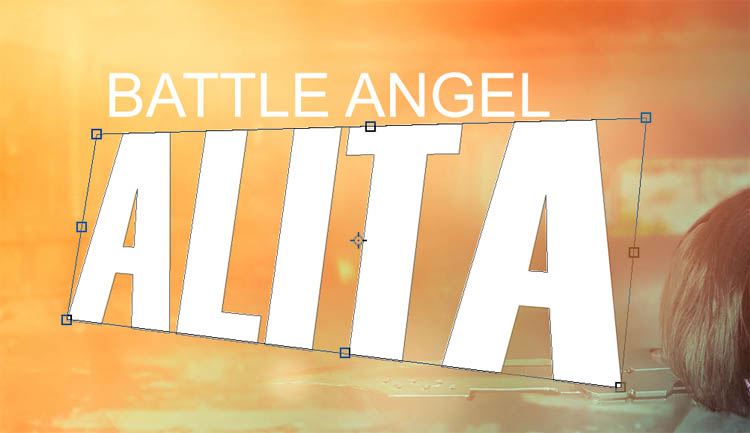
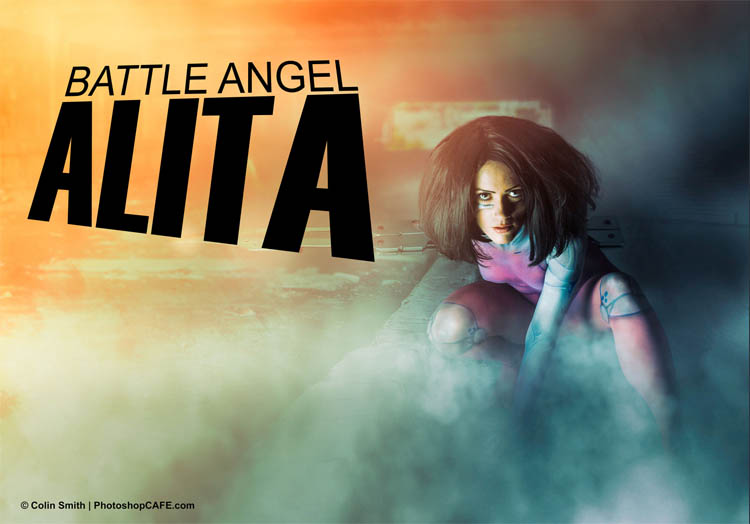
Turning Text into a custom shape outline (Battle Angel Alita)
Let’s start with a photo I shot recently of model/cosplayer Jessie Pridemore (Rufflebutt Cosplay). I composited Jessie as Battle Angel Alita into a background. We are going to add some text.

Step 1
Choose the type tool. Here is the font choice that I used.
![]()
![]()
Step 2
Click into your document and begin typing

Step 3
Let’s add a second line of text, here is the font choice for this.
![]()
![]()
Step 4
You can see the 2 pieces of text on the page here, pretty simple stuff.

Step 5
Here is the layers panel, you can see what it looks like. Click on one of the type layers in the panel to select it

Converting text to a vector outline
Step 6
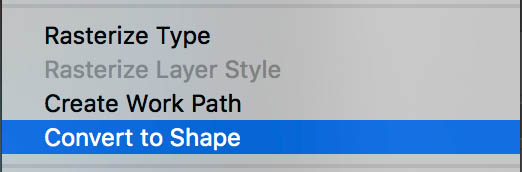
Right click on the type in the layers panel. Choose “Convert to Shape” from the menu
Step 7
Repeat for the second type layer. You will notice the layers panel now displays the text layers as shape layers. You have lost none of the quality, sharpness or edge definition, and converted the type to shape layers.

Transforming the Text in Photoshop
Step 8
With the type layer selected in the Layers panel, Press Cmd/Ctrl +T
This will take you into free transform mode and you will see this wireframe box around the text (this is called a bounding box).
Right click inside the box to see all the options. Most of these options aren’t available to regular text layers.
Choose distort.

Step 9
Drag each of the corners of the bounding box to reshape the way the text is on the page.
Step 10
Choose the other text layer and press cmd/ctrl +T

Step 11
Right click for the options and choose Distort

Step 12
Drag the corners to change the text block’s shape. (Tip: You can Control-drag each corner in free transform mode without having to right-click and choose Distort).

Changing the fill color of the text.
Step 13
You can also change the fill color of the text at any time, as well as adding a stroke outline if you want, because it’s now a vector shape.
Choose the type layer in the layers panel

Step 14
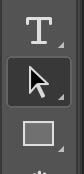
Select the Direct selection tool (it’s different than the move tool)
Step 15
Go to the top of the tool option bar and click on the Fill box.

Step 16
Choose a new color (or pattern, or gradient if you prefer). We are keeping it nice and clean and choosing black as the color, by clicking the black color swatch. Notice the type changes color as you choose the new color.
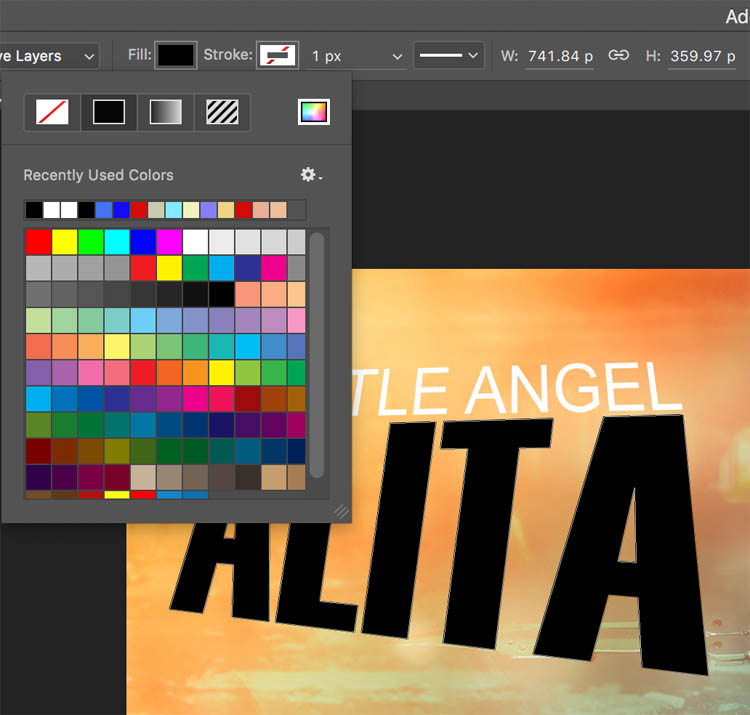
Step 17
Repeat for the second type layer.
More words
As you can see, we have a lot of flexibility with the outlined text and it keeps it’s quality, no matter how many times you shrink, or enlarge it, or modify it. Because it’s a true vector, you can scale it as large as you like and it will still look nice and crisp.
Thanks for checking out this week’s PhotoshopCAFE tutorial. Don’t forget to check out all the other tutorials here at PhotoshopCAFE. We have lots of original tutorials (no reprints here!). Also check out our Instagram, twitter, Facebook and Youtube (photoshopCAFE)
See you at the CAFE
Colin
PS Don’t forget to follow us on Social Media for more tips.. (I’ve been posting some fun Instagram and Facebook Stories lately)
You can get my free Layer Blending modes ebook along with dozens of exclusive Photoshop Goodies here