A really powerful tool for collaging and compositing in Photoshop is layer masks. When we want to combine photos, we combine layer masks and gradients, it’s laughably easy to create stunning looking composited that are actually very easy to do. Check out this tutorial to get your creative motors running.
Here is a video for you to watch. There are more details in the written tutorial on this page too, so check that out for sure!
For you long-time CAFE crew, this used to be the old tutorial with the lame looking clock and keyboard. Like almost every tutorial on the CAFE, I have completely rewritten it. Why? First of all, Photoshop has progressed and so have I. I now have better techniques and faster ways of doing things than I did 10 years ago and I’ve developed as an artist and photographer, and want things looking current. Yessir, the new PhotoshopCAFE is back, and fresh!
Step 1
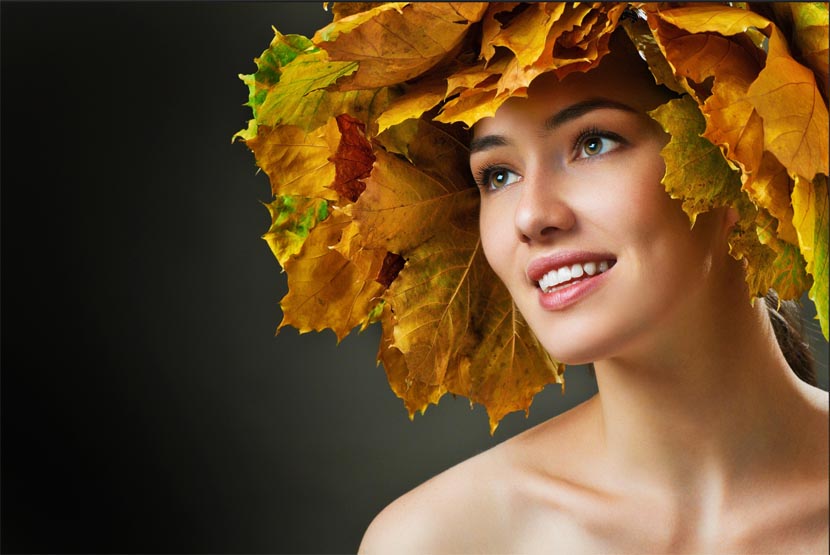
First thing you will need is 2 images that will blend together nicely.
Make sure they are both in the same resolution (72 dpi for the web) and color-space (RGB in this case). Open both these documents in Photoshop.
These images are from Adobe Stock

Step 2 Combine the 2 images together
We will want to combine both images into 1 document. Choose the Move tool from the left toolbox: “V” key.
(CS6 and CC) If you have the application frame on (shown),
Put your curser in the middle of the first image. Click-hold-Drag into the tab at the top for the second window as shown with the arrow below, (don’t let go yet) Wait for the image to come to the front. Drag and release in the middle of the new document to combine the two images into one document.
If you are on earlier version of Photoshop without the application frame: Drag one image into the other window and a new layer will be created automatically.
Tip: To center the new image in the window hold down the Shift key while dragging.
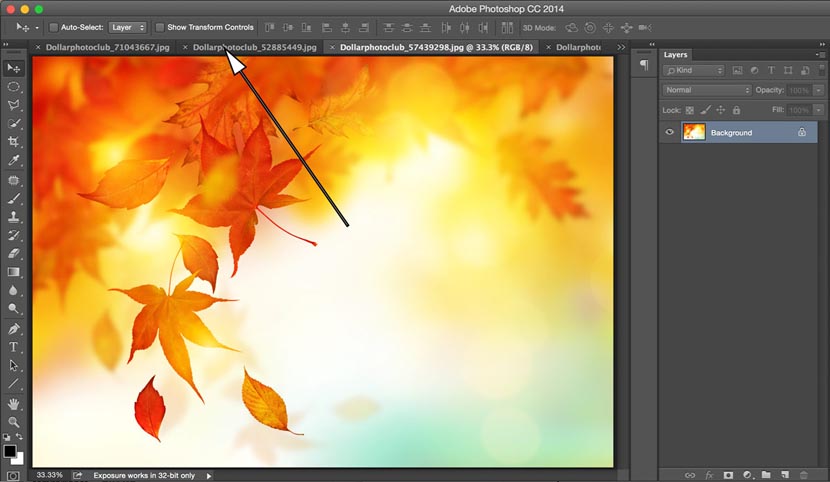
(If you are stuck, I have made a beginners tutorial on how to combine photos in Photoshop here)
Step 3
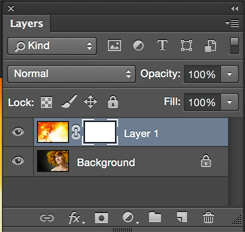 We will now have 2 layers in the same document
We will add the Layer Mask
Click on the add layer mask button
This will create a new layer mask. A layer mask is transparent. When you paint black into the mask it allows the image underneath to show through. Where it is white, the underlying layer will be hidden.
Step 4
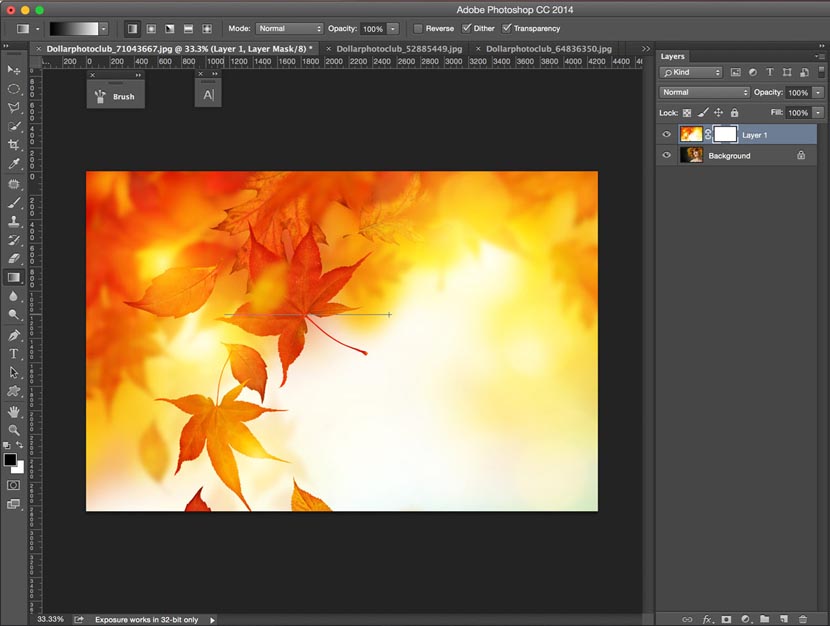
Press the “G” key to select the gradient tool. Make sure the foreground and backgrounds are set to black and white. “D” key. Select linear gradient and foreground to background.
![]()
![]()
Now drag the gradient across the image.
Step 5
You will now see the two images blend together and the mask will have a gradient in it as shown
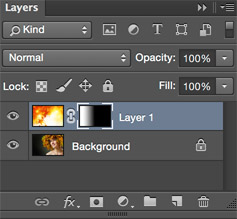

You can see the gradient in the layer thumbnail and the result on the image. Where it is white, the top image shows and where it is darker the back shows through. Experiment with different angles and start and end positions. Because a mask is non-destructive, you can experiment as much as you like with different gradients in the mask,


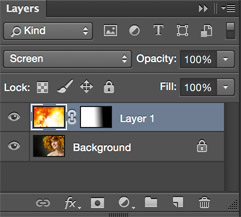
Step 6
EXTRA CREDIT!
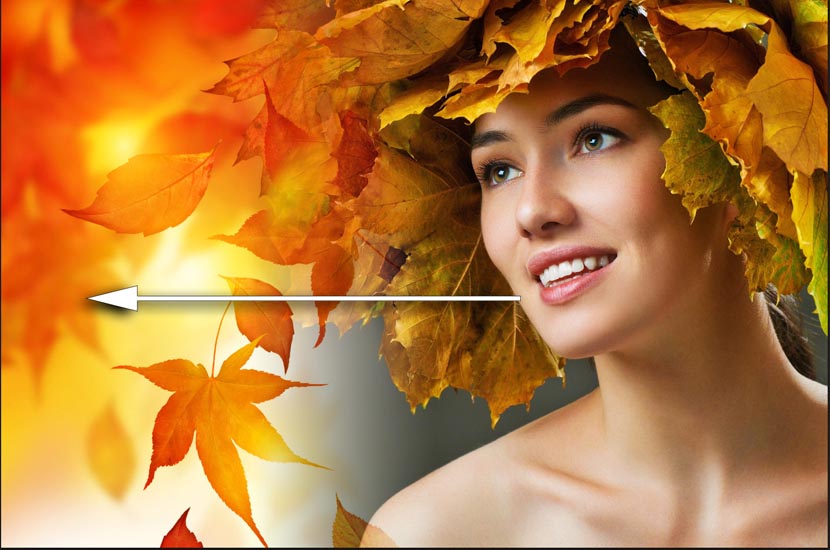
Try changing the blending mode to something different for a different result, in this case I liked what Screen mode did to the feel of the image.

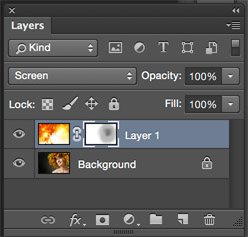
Step 7
You may also use any of the brush tools on the mask. Black will “paint away” the image and white will “paint it back”. Use a soft brush for best results.

I hope you enjoyed this tutorial and let me know in the comments if you want more on collaging and compositing techniques. This is one of my specialties. I am adding new tutorials here at photoshopCAFE every week! Sign up for our newsletter so I can tell you when I add new tutorials. You will also get some goodies like the super guide and some free presets. If you are already a subscriber, don’t worry, you will automatically get all our freebees as they come out.
Also, check out our ultimate guide to layer blending modes in Photoshop. All the blend modes explained and practical ideas to use them, tutorials, explanations and a video overview.
What next?
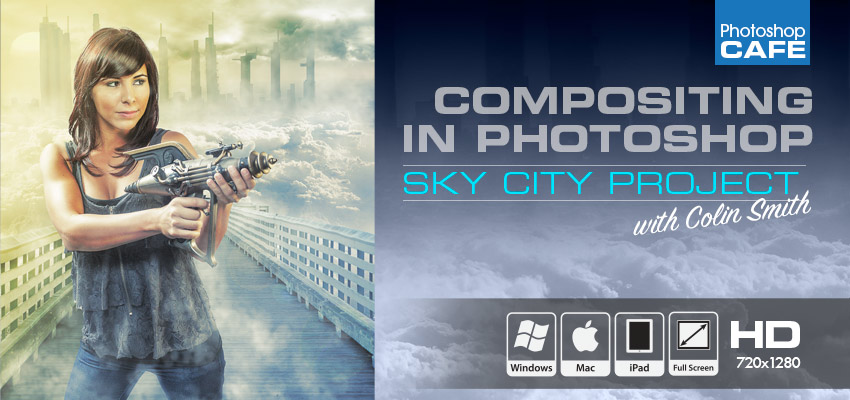
Compositing in Photoshop: Sky City Project
I have been asked countless times for more in depth training on Compositing, layers, masks and blending photographs. I did it! 2 hours of video that will show you exactly how to build stunning composites in Photoshop. What I have learned in 18 years, revealed here.
Colin builds a real-world compositing project with you. The great thing about a project is that nothing is skipped in the workflow. This is where you put together everything that you have learned about Photoshop.


You will learn how to combine different photos together to create a piece of art in Photoshop. You will learn different ways of extracting photos from the background and how to seamlessly blend them all together. You will learn how to add atmosphere, and cinematic coloring and implied lighting.
See everything that you will learn here
“Great tutorial even for beginners and as a beginner, I can honestly say he made it easy to keep up with him. Colin walks you through and explains EVERYTHING. I can’t recommend this enough! If you are on the fence stop here and just buy it. You wont be disappointed.”
-Audrey (Compositing in Photoshop / Sky City Project)
Massive collection of free Photoshop Add ons from Colin Smith
I have put together a collection of premium add ons and goodies for Photoshop. Rather than sell then, I decided to just give them away to our visitors and members. This collection is called the Photoshop Vault. Sign up to get access, I will be adding to it on a regular basis too. Enjoy!
Included in the PS vault
- Layer Blending Modes ebook
- Photoshop Actions Pack
- Colins Cloud and sky collection
- Lightroom and Camera Raw Presets
- Camera Raw and Lightroom custom Profiles
- Cloud and smoke brushes
- Color Grading LUTs
- Keyboard Shortcut cheat sheet

PS Don’t forget to follow us on Social Media for more tips.. (I’ve been posting some fun Instagram and Facebook Stories lately)
You can get my free Layer Blending modes ebook along with dozens of exclusive Photoshop Goodies here