
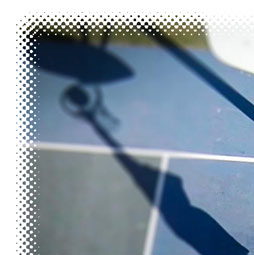
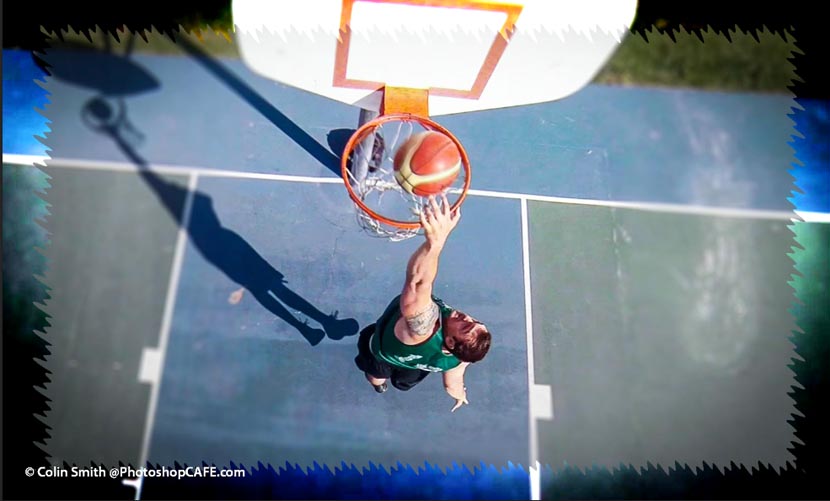
Here is a sports photo that I shot using a quadcopter. Its a beach basketball player at Laguna beach who agreed to let me film him in action. What if I want add a High Energy photo edge to this photo for some extra punch? This tutorial shows you how to make your own photo edges in photoshop.
Please watch the video AND read the steps, there is unique info and different techniques in both, they supplement each other.
The images used for the photos and parchment paper edges are from Adobe stock.
To help you get started grab 10 free images from Adobe Stock
Become an Adobe Stock Contributor:

Step 1
Make a selection around the inside of the image

Step 2
Invert the selection Ctrl/Cmd+Shift+I

Step 3
 Press the quickmask button on the tools palette or just press the “Q” key

Step 4
You can really use any filter at this point. Now that we have a quick mask, we essentially have a selection that we can apply filters to.
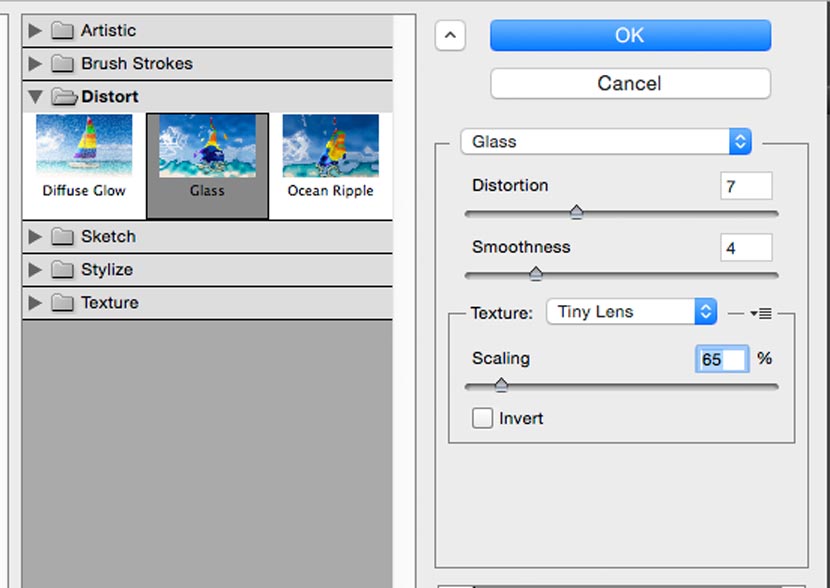
Filter>Filter Gallery
Choose Distort>Glass and makes some settings similar to what we have here.

Step 5
Click ok and Here is the filter applied to the quick mask.

Step 6
Turn off the quick mask using the button or pressing “Q”
Invert the selection so that the inside of the photograph is selected. Ctrl/Cmd+Shift+I

Step 7
Lets copy the selection to a new layer, Press the Ctrl/Cmd+J keys
Hide the background layer to reveal our effect

Step 8
Fill the background with white.


Extra credit
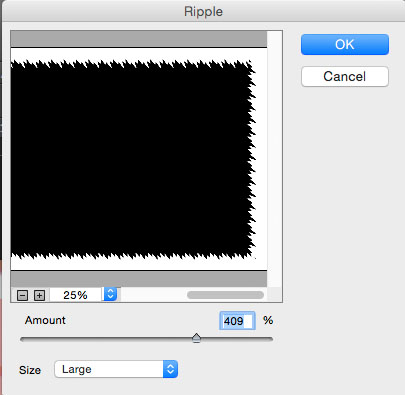
You can use different types of filters on the selection. Play around and discover some favorites of your own. Here is one variation using the Ripple filter.

Try adding an adjustment layer between the cut out and original images for some interesting effects.

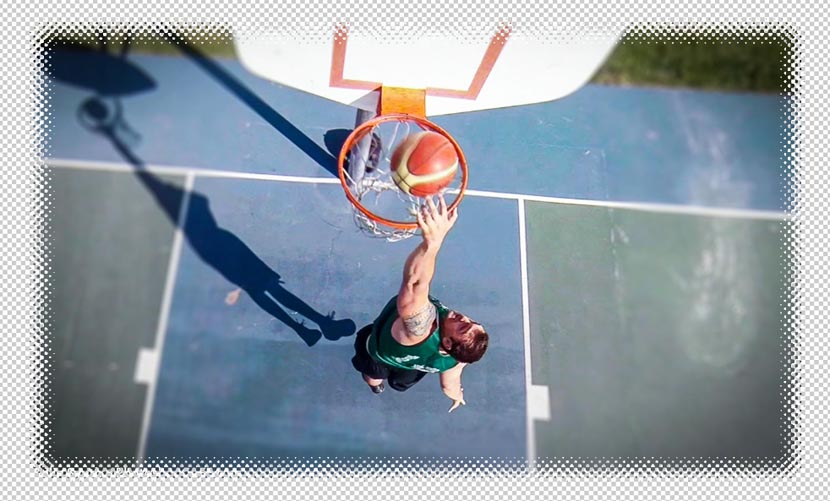
Here is our image with the new edge, Experiment with different filters and have fun. Post your results for us to praise
See you at the CAFE
Colin
PS Don’t forget to follow us on Social Media for more tips.. (I’ve been posting some fun Instagram and Facebook Stories lately)
You can get my free Layer Blending modes ebook along with dozens of exclusive Photoshop Goodies here 


