

You might remember the original chrome text tutorial from here at PhotoshopCAFE. It was one of the very first Photoshop chrome tutorials on the web, and oh boy was it copied everywhere. I have just re-written the entire tutorial to update it for modern times. Not only is the result cleaner now, the steps take advantage of features that have been addied in the the more than 10 years since I wrote the original tutorial, I hope you enjoy this updated tutorial as much as you did the original.
Step 1
Create your type layer, or import your shape that you want to turn into shiny chrome Render type: right click/mac Cmd click the name on the layer and select “rasterize type”. This converts your text to an object, so you can apply all the filters to it.
(NOTE: If you are going for a cleaner look and are going to skip the plastic wrap step, you won’t need to rasterize the type. Plastic wrap works as a Smart Filter, but you can’t get the correct result with the gradient without rasterizing the type.)

Step 2
select a dark gray for your foreground color and a light gray for your background.
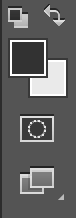
Step 3
Select the gradient tool (Linear, fore to background) and drag from the top to the bottom of the image. Tip: Hold down the shift key to constrain to 90 degrees.

Step 4
Apply the plastic wrap filter. This is found under Filter>Gallery Filter>
On earlier versions of Photoshop, it’s under Artistic Effects>Artistic
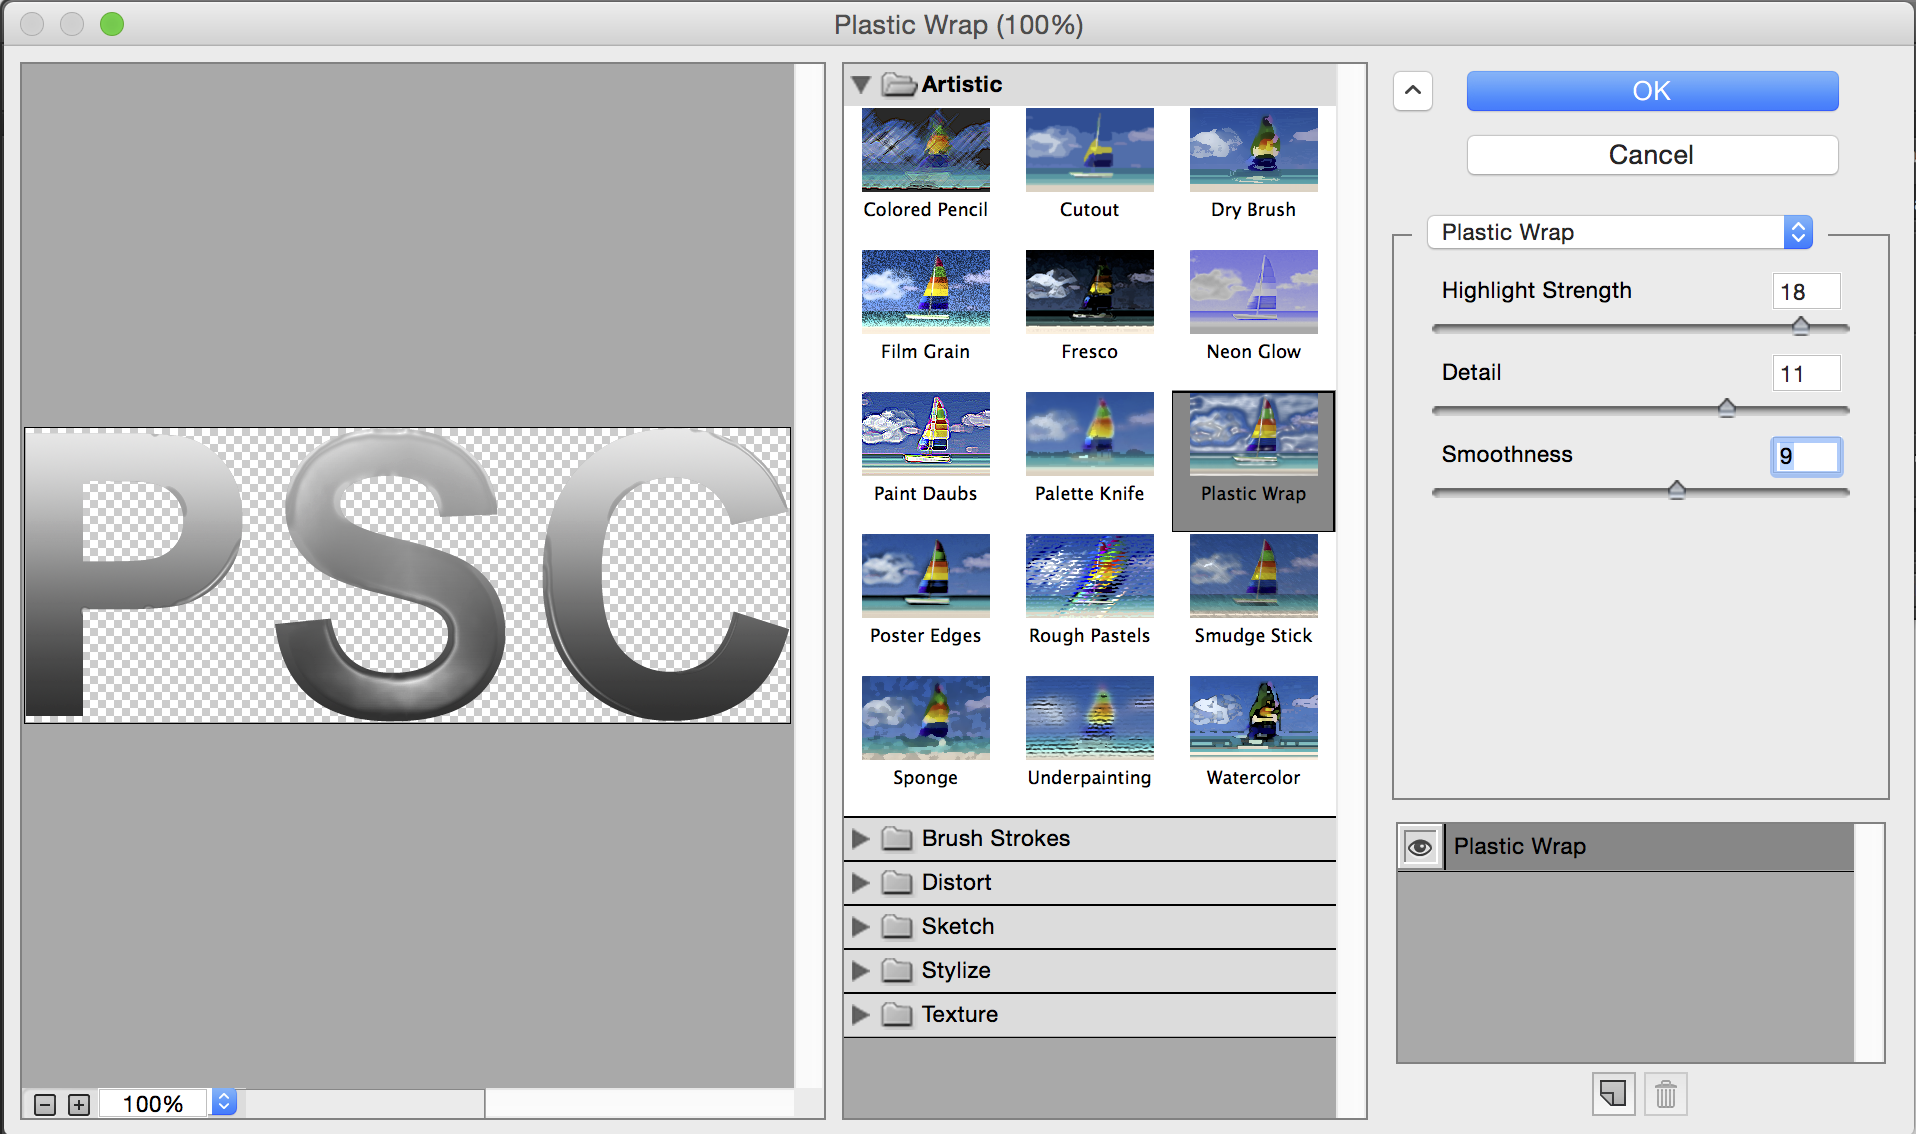
Step 5
Making the Chrome
(In the past, I had you apply a curves adjustment directly onto the Type, but I think it’s a better idea to use an adjustment layer because we can change things later and keep tweaking until we get the perfect result.)
Create a curves adjustment layer and make a curve like the one in the example. Go easy the first time, you are laying down the base of the tones here. Also note that I am using the clipping option to only affect the text layer and not all layers (left button on the bottom of the Layers panel)
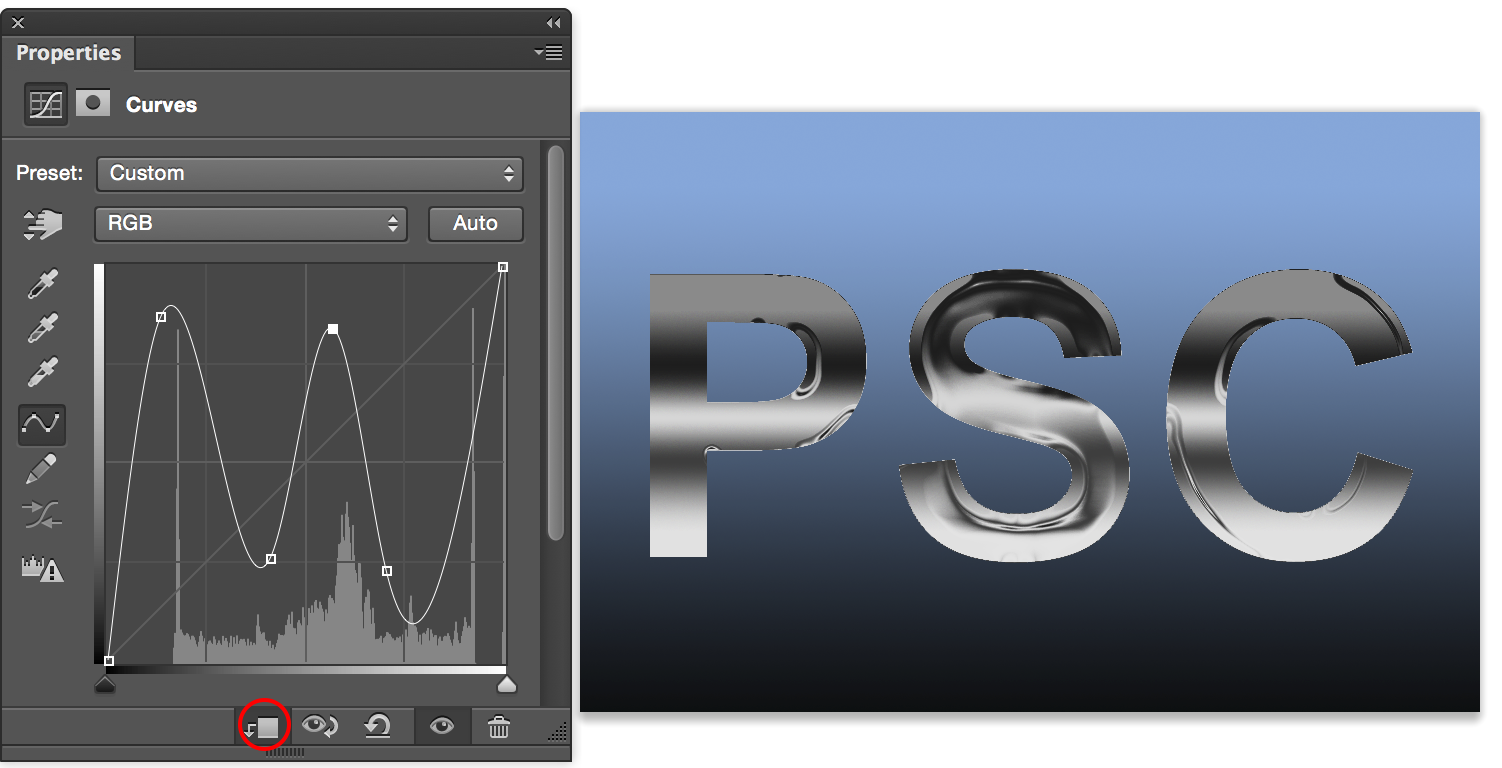
Step 6
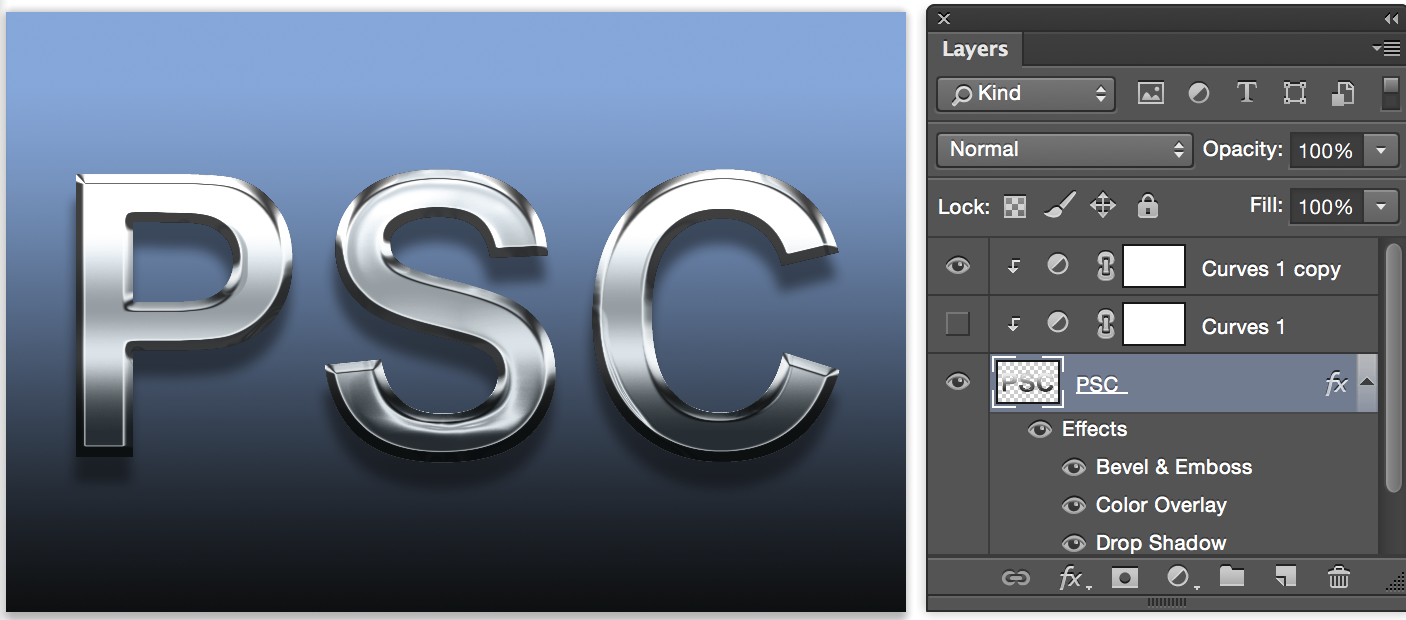
Add a second curves adjustment layer on top (make sure it’s clipped too) now you can really shape the way you want the chrome to look, make it bright, or dark depending on the look you are after.

Step 7
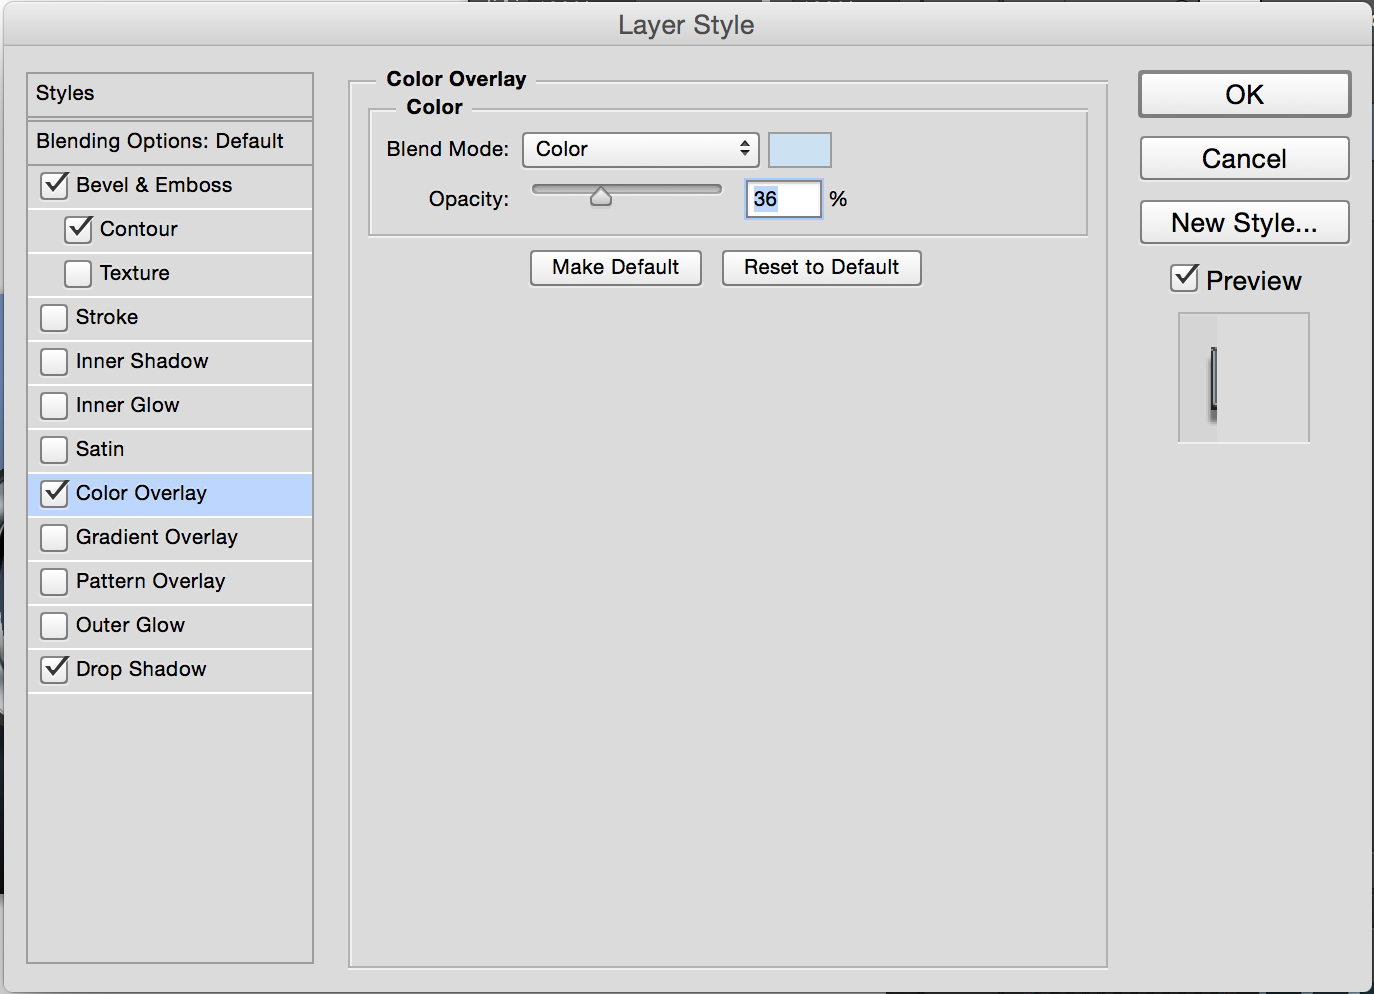
Now we will apply a layer style to add some dimension to the chrome letters. Note that the gloss contour is changed to get more of a chrome look. I also added a drop shadow.

And the result

Variations
A variation with different curve settings

If you want, Colorize the image with a Color overlay style

The great thing about using adjustment layers and Layer styles, is that it’s non destructive and you can keep playing with it to get different looks.
Here is one where I only use the top curves adjustment, it gives a cleaner look.
 And another using only the bottom curves adjustment

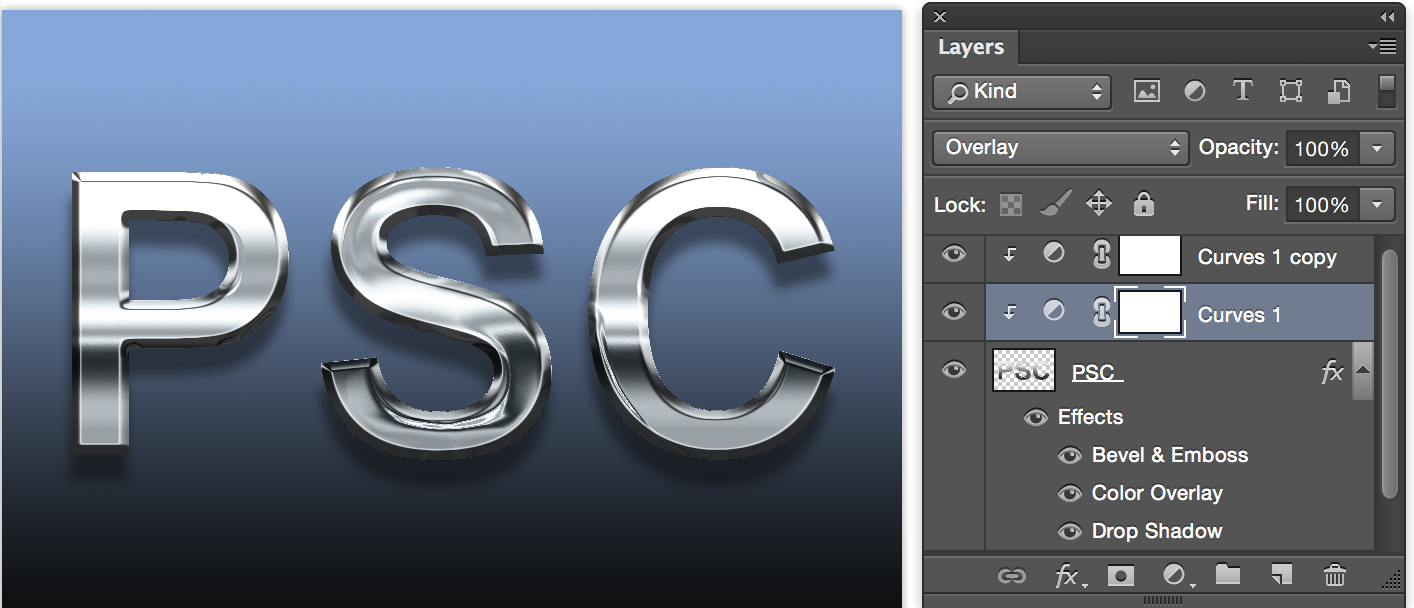
Or another variation where I tried a different blend mode (overlay) for the bottom curves adjustment
 I hope you have enjoyed this updated chrome tutorial. As you can see, I have completely changed the workflow to make it more flexible. Also note, if you don’t use the plastic wrap filter, you don’t have to rasterize the text, you can keep it live.
Just for nostalgia, this is what the original effect looked like when I wrote this tutorial over a decade ago, you can see how things have progressed over the years!

PS Don’t forget to follow us on Social Media for more tips.. (I’ve been posting some fun Instagram and Facebook Stories lately)
You can get my free Layer Blending modes ebook along with dozens of exclusive Photoshop Goodies here 


