
How to make a segmented Tube in Photoshop
1.
Create a new layer and make a retangular selection.

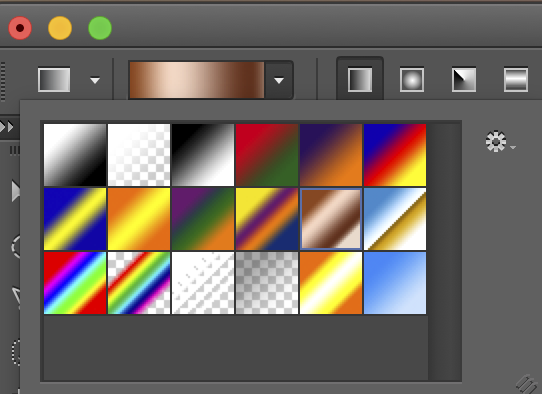
2
Select the linear gradient tool and the copper gradient.
3
Drag from the top to the bottom of the selection, you now have a copper pipe. (Tip: hold down the short key for a perfectly vertical line)

4
For this excercise we want a chrome pipe, so suck all the color out by going Shift+Ctrl/Cmd+U to desaturate the image. Or select desaturate from the menu.

5
Now to make it more shiny chrome, open our famous curves box and use a similar curve.
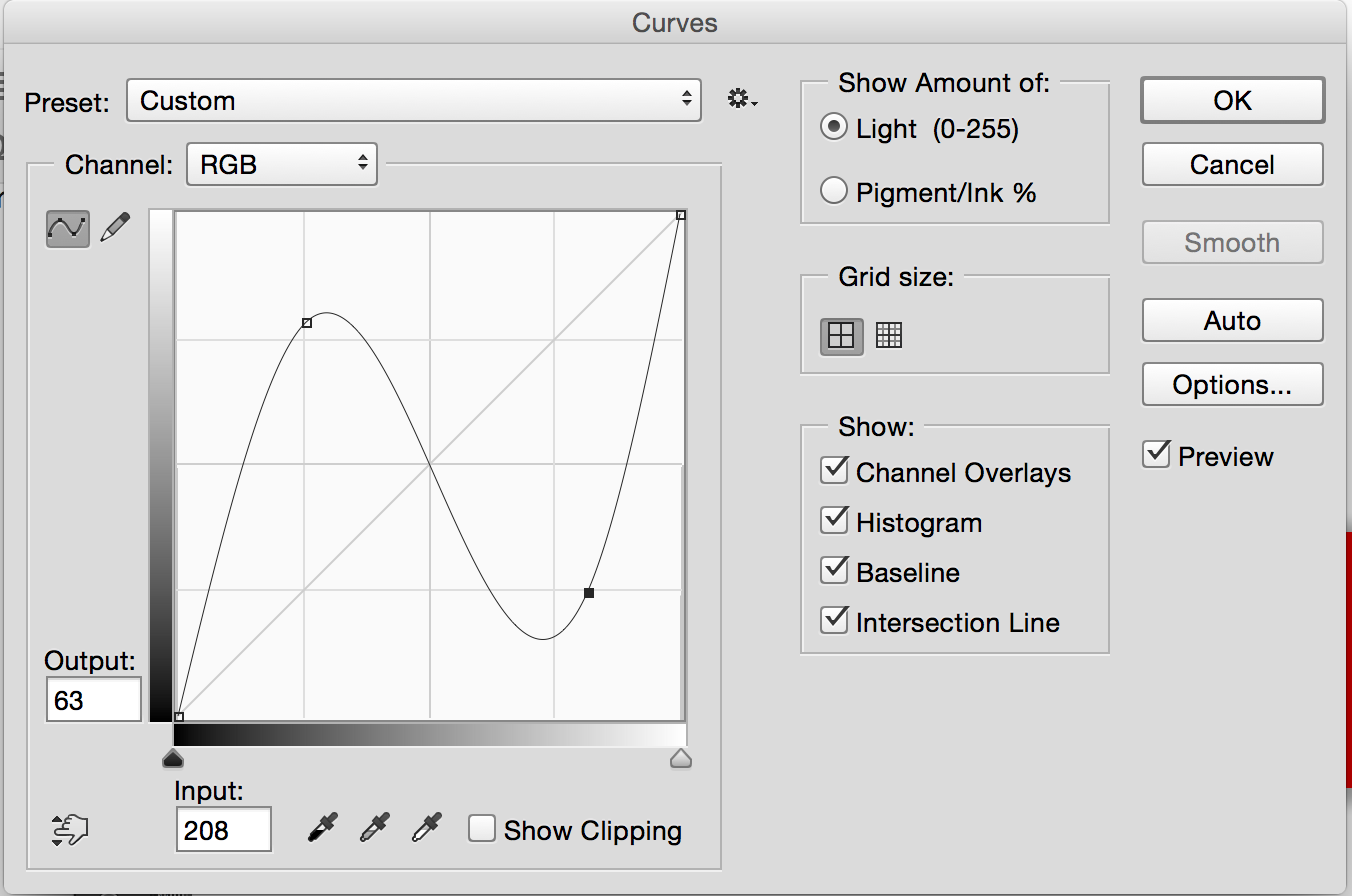
Typically, I would recommend using adjustment layers, in this case, it’s ok to apply the curve directly onto the image. (Ctrl/Cmd+M)
6
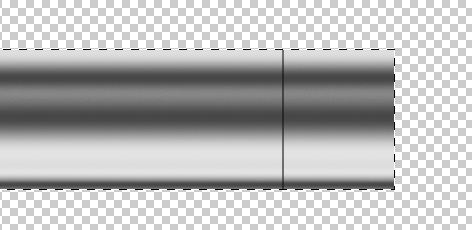
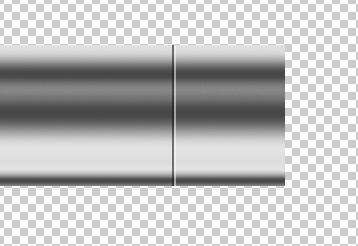
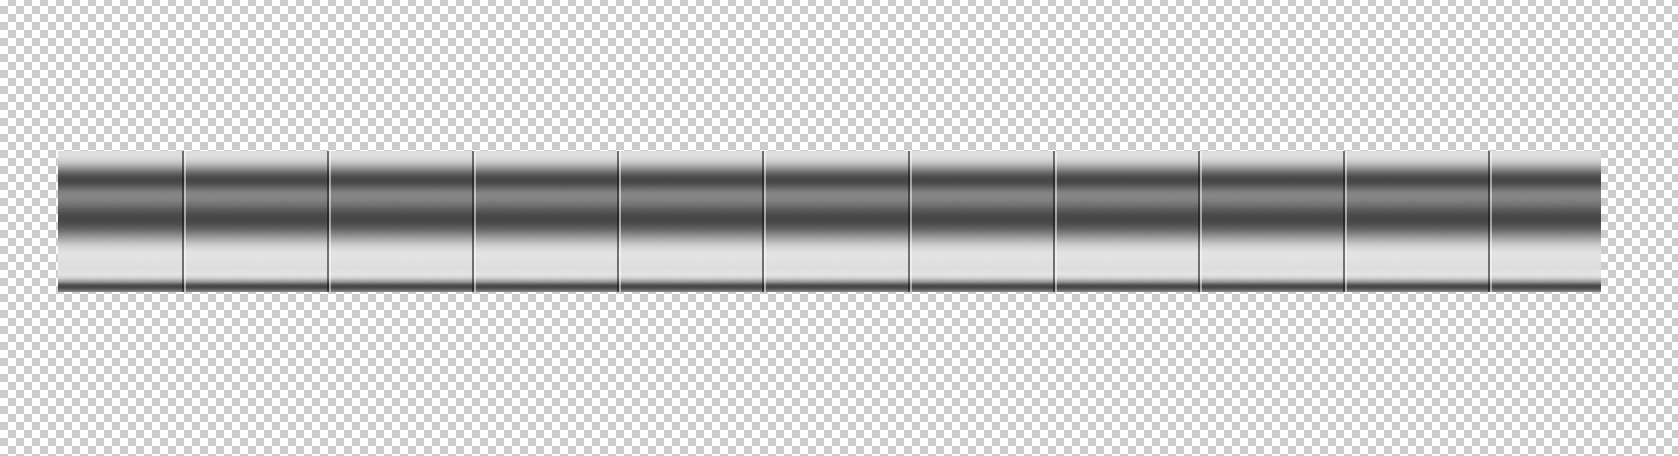
And we now have a shiny Chrome pipe..

7
To add the segments: Create a new layer and draw a 2 pixel line in black. (use the line tool in the pixel mode) If the selection is still active, you won’t have to trim the lies later.
8
Duplicate the layer Ctrl/Cmd+J and press Ctrl/Cmd+I to invert the color (making the copy white), press the right keyboard arrow key 2x to nudge the white line over. Change it to overlay mode in the layer mode menu (optional).
We now have a realistic looking indent in the pipe.
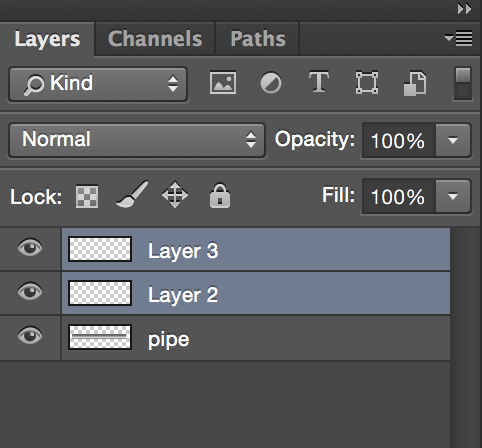
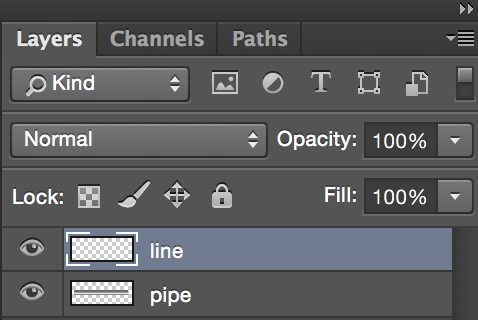
9
Select the 2 lines and Ctrl/Cmd+E to merge into a single layer
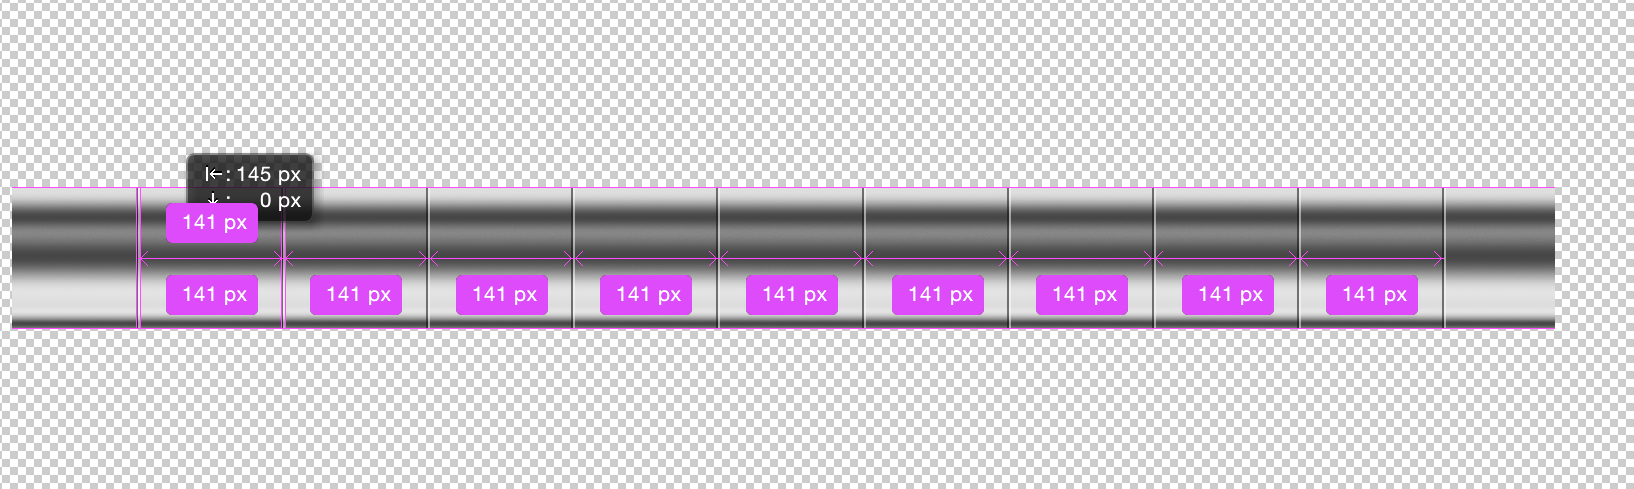
10
Alt/Option+Shift and drag the lines to duplicate them along the pipe.
If you are using Photoshop CC 2014 or newer, you will notice the smart guides will tell you when you have exactly the same distance between lines as you duplicate and drag them out.
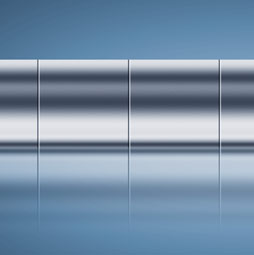
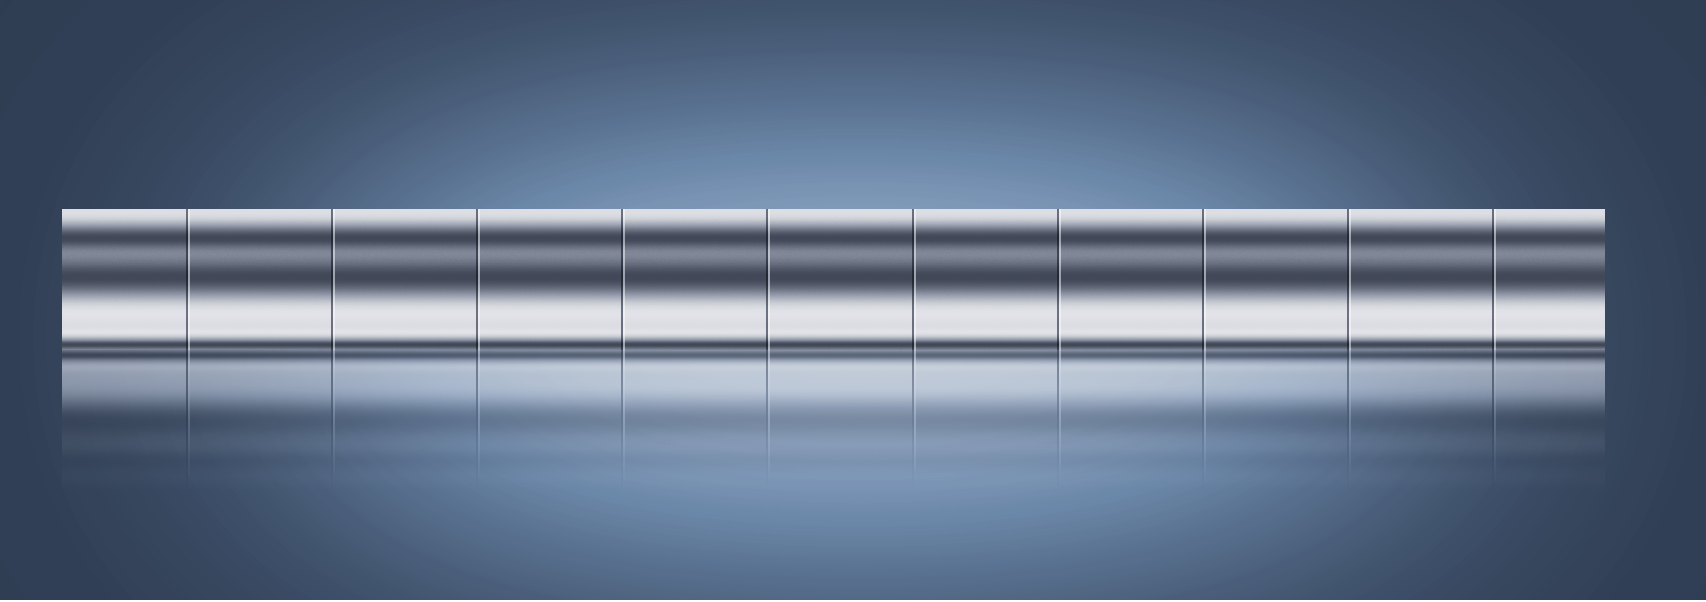
Final
Here is a finished one with some color and a reflection added
PS Don’t forget to follow us on Social Media for more tips.. (I’ve been posting some fun Instagram and Facebook Stories lately)
You can get my free Layer Blending modes ebook along with dozens of exclusive Photoshop Goodies here 


