
Using Photoshop on iPhone Tutorial
Photoshop has been released on the iPhone. Its not the full featured Photoshop, but it is a great tool for making composites and combining different photos together.
Watch the video to see the full tutorial as we build a composite that exposes many of the features.
Download for free from the App Store. Some of the features are only available to paid subscribers, but many are also free.
You will see the Home Screen. You start with your photos on your phone or from Lightroom, An empty document, generate an image with Firefly ai or Use images from the free collection on Adobe Stock.
In shows you CC synced images as well as files.

In this case, we started from a blank canvas.
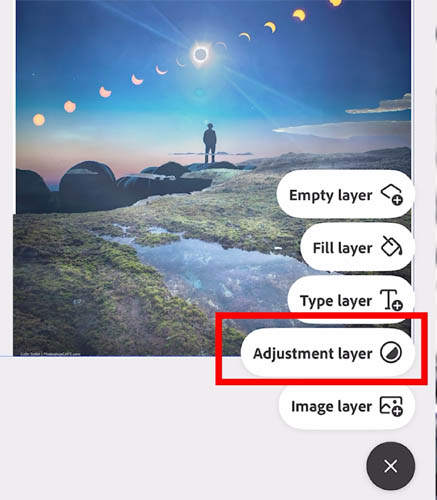
Hit the + button
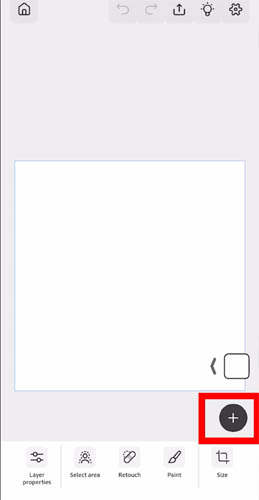
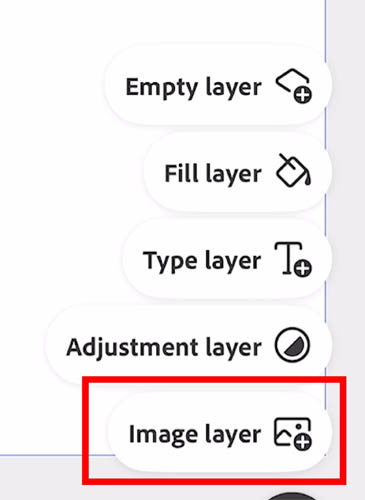
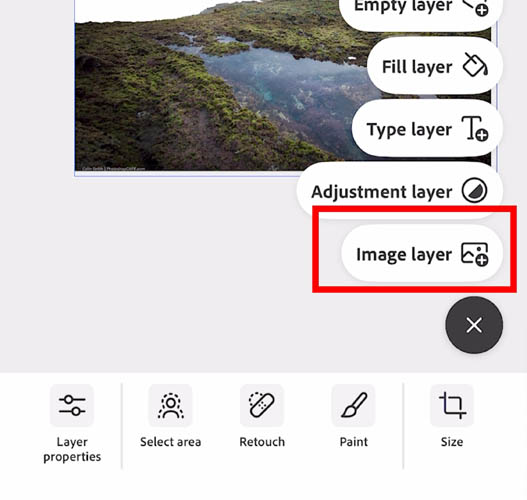
You can add layers hereof different types.
Lets choose an image layer
You will see all the different sources to grab images from.
Lets do Lightroom
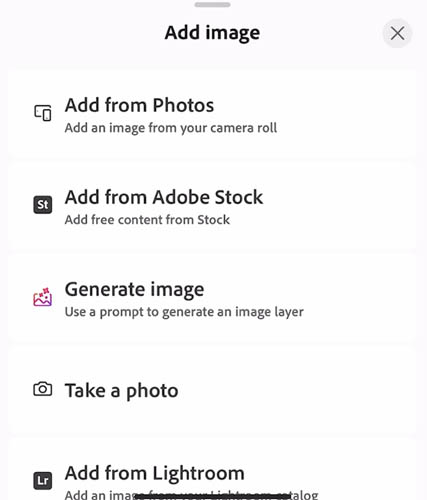
You don’t have to even have Lightroom installed on your phone. As long as you are sharing mages in the cloud from Lightroom you can access them within Photoshop phone.
Choose an image and click open. Here is one I shot in Laguna Beach.

You can transform or move the image with your finger.
Let’s cut to out, choose mask.

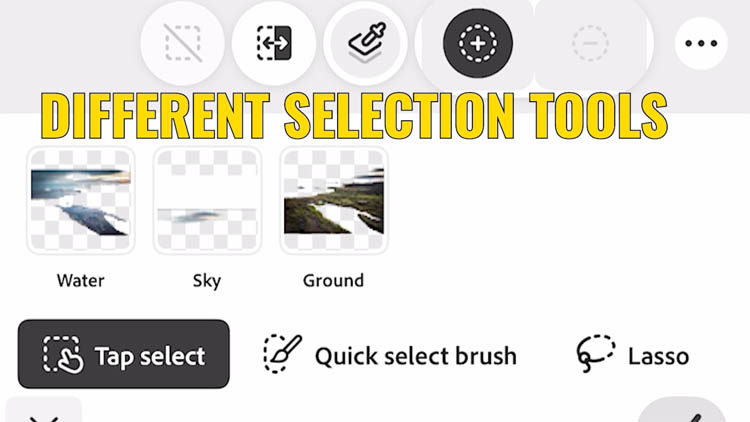
There are a bunch of different selection tools. Tap to select uses ai to cut out the image from its background.
Here we are using the ai to select the ground
You can see the cutout here.

Lets add another image
Here is an image I made at Casper WY.
It comes in as a new layer
Go into layers
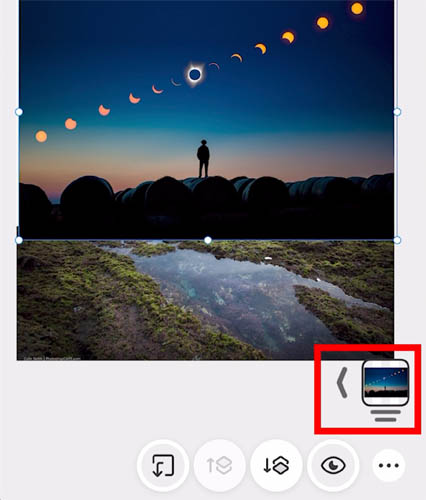
Here you can arrange the layers

The new image is now behind the ground image.

Here is another image on top. Notice you can change the blending mode as well as the opacity.

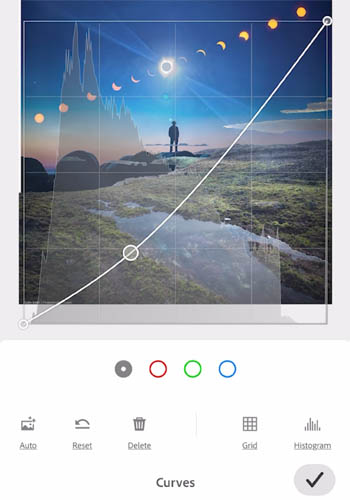
You can also use adjustment layers.
Here we are applying a curves adjustment. You can see it all in action on the video at the top.
And the final image on the phone.

Here is the final image output as a jpg

I hope you found this useful
Great to see you here at the CAFE
Colin


