
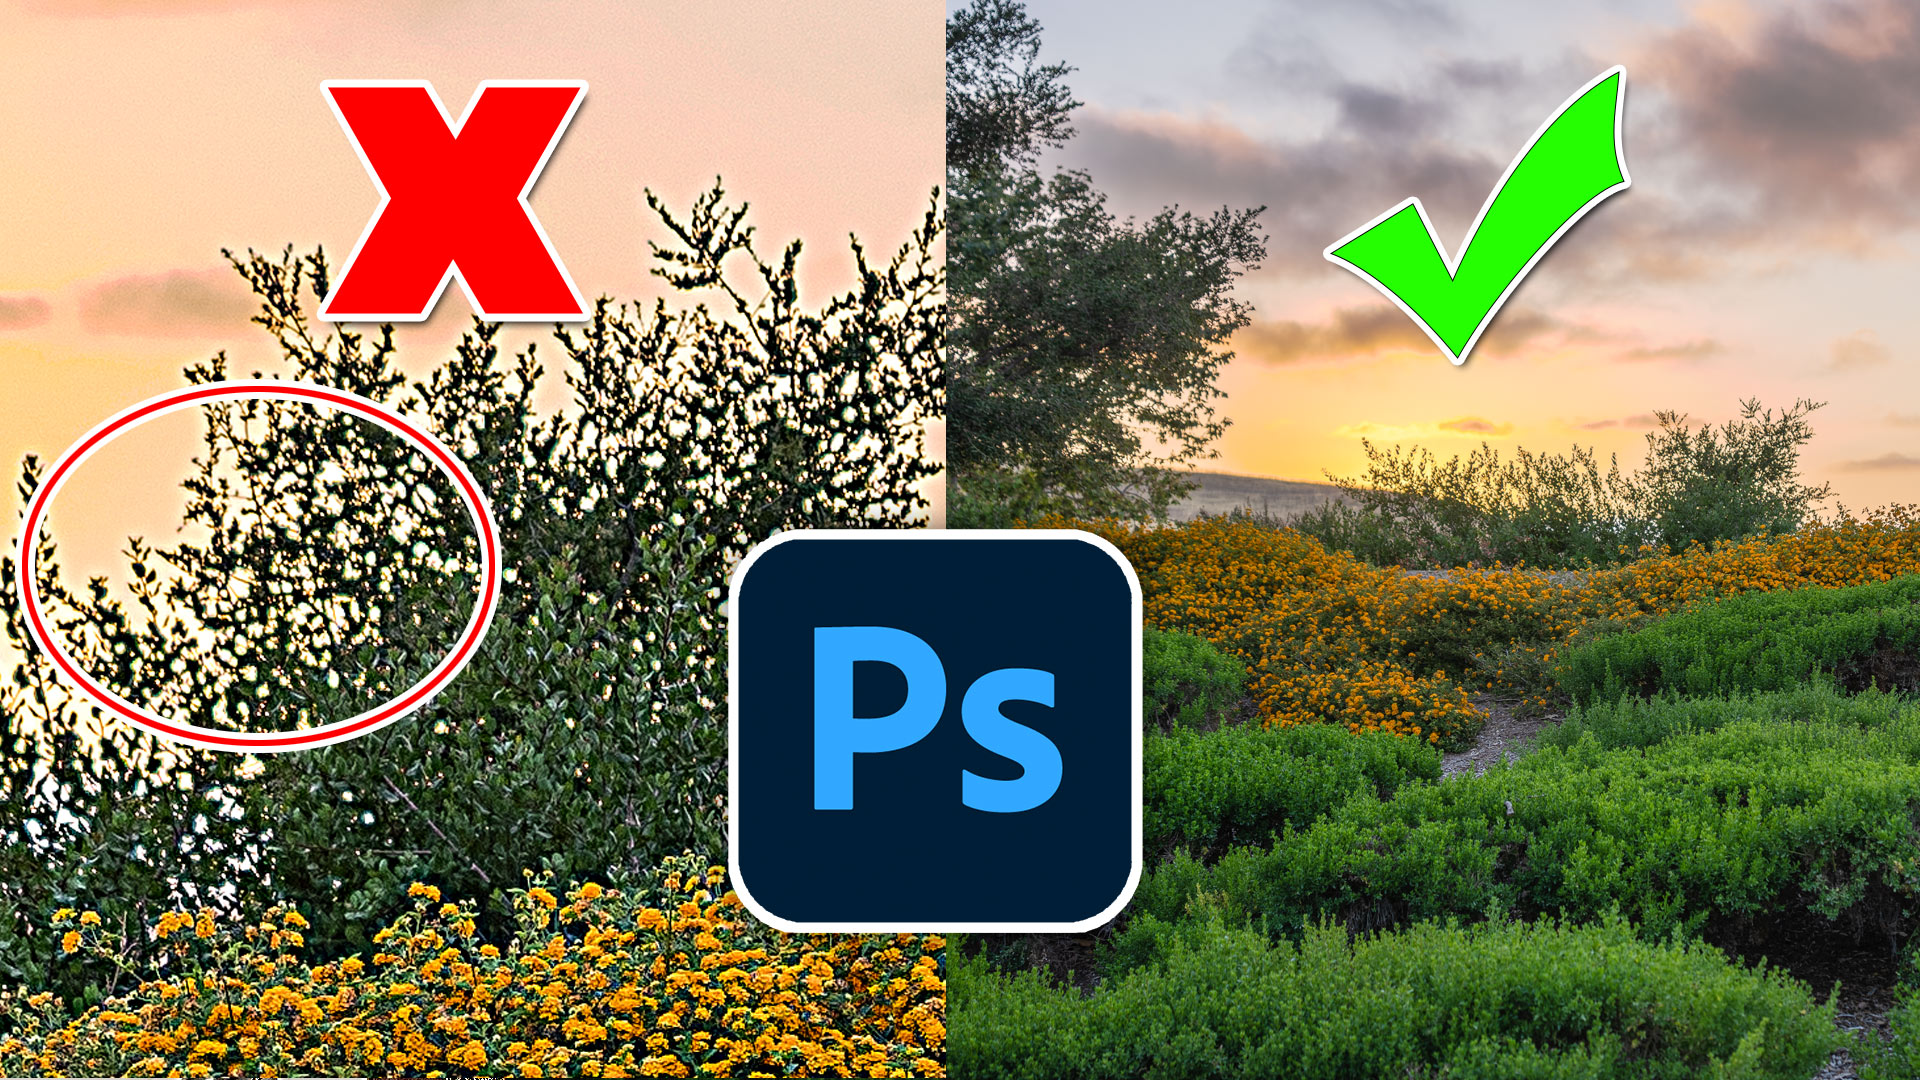
Most people don’t even realize they are destroying their photos when they sharpen them. Right now, I’m going to show you the best way to sharpen photos, in Photoshop without damaging your photos. Today, we’re going to use two examples, we’re going to use a person and a landscape. So just get straight to the point. Why don’t we jump in and I’ll show you exactly how this works.
Here’s a photograph that I shot in my studio of Lina, straight out of camera.
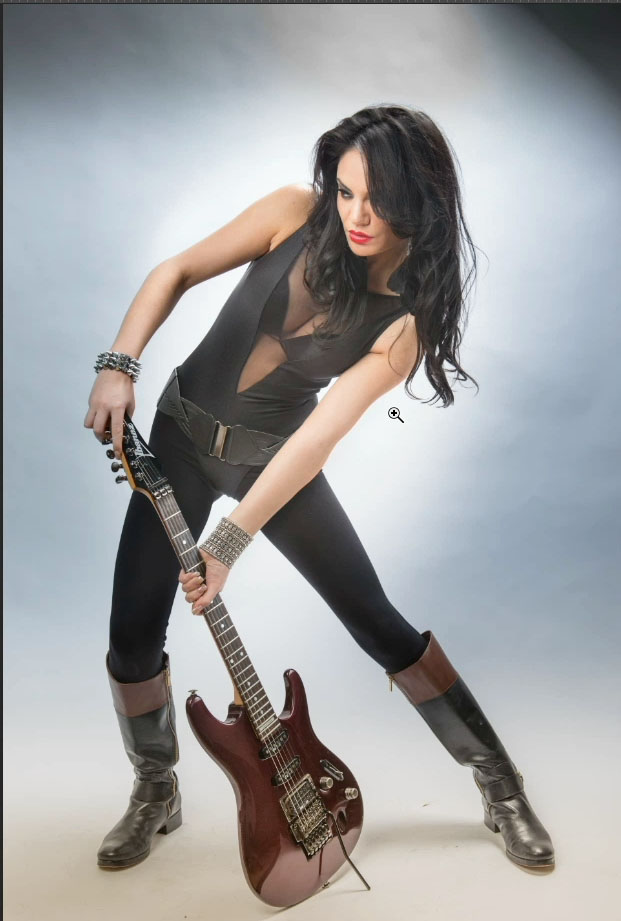
Zooming in to 100% (you always want to be at 100% for sharpening).
Look at the bracelet.

Lets duplicate the layer so we can do a before and after . Cmd/Ctrl+J.
Filter>Sharpen> Unsharp Mask. This is the adjustment a lot of people use and it’s a great option. Now, generally speaking, I like to keep the radius under 1 and then take our amount up to around 120. I’m not going to see a lot of difference till you get around about 100. That’s looking pretty good.

But what I want to do is I want to push this a little bit further so I can show you what we want to do. So let’s push this radius higher and I’m going to push this up now. I see a lot of people do this. They push it up high. Now, obviously, this is damaging it because you can see the white is blowing out (I call this sizzle). The white was actually blowing out at the smaller value, but you just didn’t necessarily see it.

OK, here’s THE trick. Watch what happens when we go down to FX and we’re going to choose blending options under the effects.

This will open up the effects of the layer style dialog box, go down to Blend IF, which is under advanced blending.
Choose this layer and grab the white triangle. Now we’re going to drag the white to the left. Notice as we do this, this rolls off that white area.

Let me show you before. That’s before we roll it off. Notice we’ve got halos around the edge of the guitar here, halos around, see those halos around the tuning pegs, her bracelet. Hit that preview, boom! The halos are gone and click OK

After applying the blend if (rolling off the whites)

3 methods of Sharpening.
Let’s use a landscape photo to really show this. It will work the same on any type of photo.

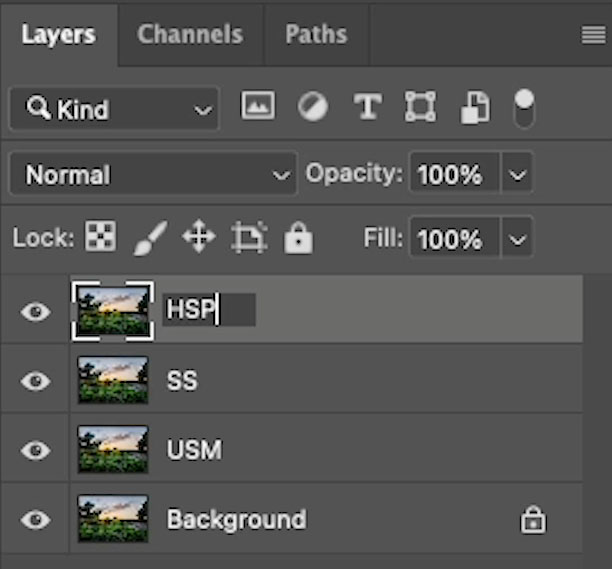
Ctrl/Cmd+J three times to dupe the layers.
Name them USM, which is Unsharp Mask, which is what we just did.
SS for Smart Sharpen and HPS for High-pass Sharpening (I know the screenshot is mislabeled, which has no bearing on the function, but someone will have to tell me).
OK, let’s start with the Unsharp mask.
Filter>sharpen>unsharp mask
This is what I just showed you and this is where it sizzles. You see this problem a lot on landscape photos.

You’ve got that sizzling in the highlights.
Let’s do our little trick here that we did above.
Choose FX, choose the blending options,
roll off the white triangle

And boom, the sizzle is gone, see before
.

and after

Second option Smart Sharpen.
Filter> sharpen>smart sharpen.

OK , here we are in smart sharpen now, smart sharpen at first appearance seems to work a little bit like the Unsharp Mask and in a way, it does.
Once again, I’m going to push this radius a little bit higher just to make it really clear what I’m doing.
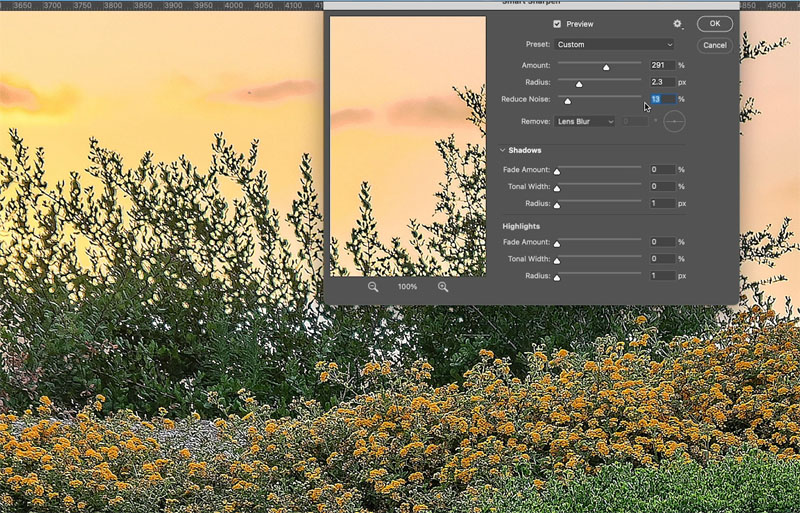
Now, the nice thing about here is we have the ability to fade the highlights. So watch this, fade the highlights. Why is it not fixed? Because we need to set the tone and tell it what the highlights are as we move over. Now, it starts to move more into the mid tones. So this gives us a little bit more control because we can choose exactly where we want to. Using the fade is exactly the same as using the Blend if trick before. So smart sharpen is like Unsharp mask with the Blend If (fade) slider built right in. (The video above shows this very clearly).

Do the shadows. Choose the Fade just crank it all the way up and adjust the tonal with.

Method #3: High Pass Sharpen
For High Pass Sharpen, change the blend mode to Overlay.

Filter>other>high Pass
The nice thing about the high pass filter is we can just get the edges and not affect the texture too much.

Let’s look at how these methods of sharpening affected the smooth areas of the image. Look at the sky, if you look at the unsharp mask. Notice how it increased the noise in the soft area in the sky as well. So it’s not as targeted. It just hits everything.

Smart Sharpen, you can see it’s not adding as much noise.

The highpass sharpen is pretty much leaving the smooth areas alone too.

So I hope this opened your eyes a little bit with how to sharpen your photos and avoid that sizzle, which I see in so many photos. It just ruins them.
As you can see we get different results based on the type of sharpening you want to use.
I’m curious what you guys think. Let me know in the comments underneath, which of those methods did you prefer or did you prefer when we combine them all?
And by the way, if you’re your new, welcome to photoshopCAFE.com. Great to have you with us. Consider joining our mailing list, and you won’t miss any tutorials from me.
And until next time, I’ll see you at the cafe.
(Ive been posting some fun Instagram and Facebook Stories lately)
Colin
PS, you can grab free goodies here, including Photoshop brushes, actions, presets, sky images, ebooks and a whole bunch more.

PS Don’t forget to follow us on Social Media for more tips.. (I’ve been posting some fun Instagram and Facebook Stories lately)
You can get my free Layer Blending modes ebook along with dozens of exclusive Photoshop Goodies here


