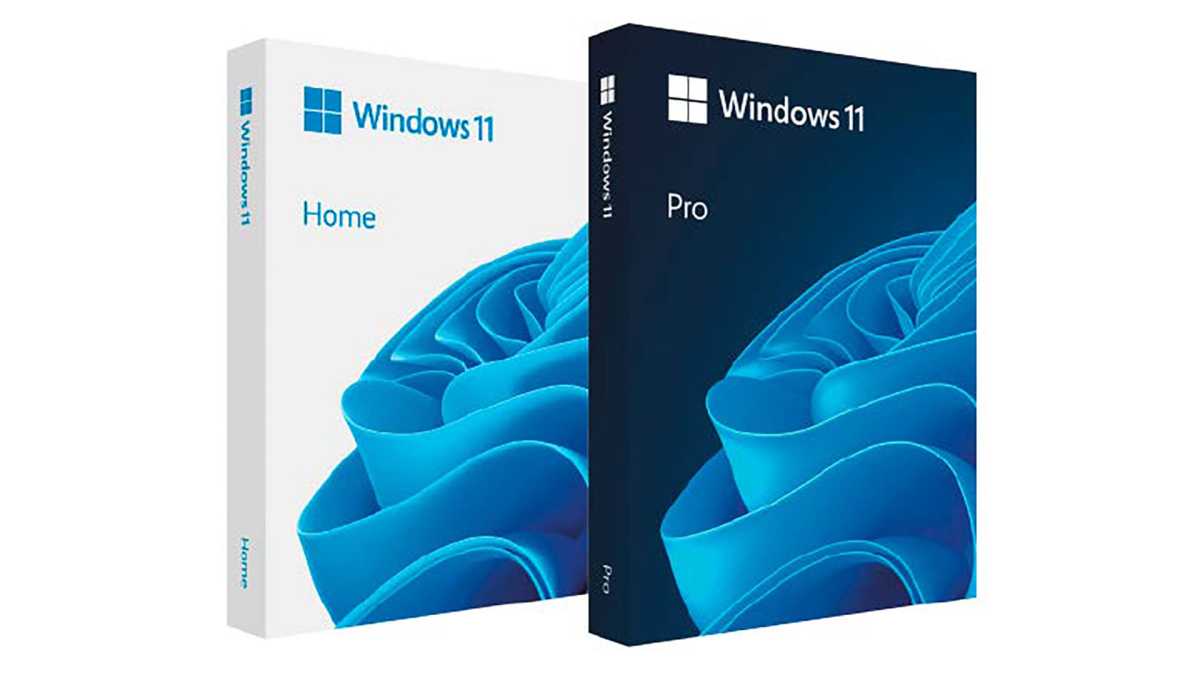
Microsoft mainly supplies Windows in two different editions: Home and Professional.
Windows 11 Home is pre-installed on many PCs, while the Pro edition is often installed on business devices. This is because Windows 11 Pro can be integrated into a company’s network infrastructure (Active Directory), whereas the Home edition cannot.
However, this feature is not necessary for private users who are unlikely to operate a Windows server in their home network.
Nevertheless, the Windows Pro edition has some features that are of interest to everyone.
If you want to take advantage of this, you can perform a Pro update for a fee. For details, see the box “Upgrade from Windows 11 Home to Pro.”
Home or Pro? Users of the Home edition receive most of the additional Pro functions free of charge. Additional tools provide what is missing in the cheaper Windows edition.
IDG
But an upgrade from Windows Home can also be completely free: Almost all Pro functions can be replaced by free software.
It is even possible to unlock two Pro functions in the Home Edition, which we describe in more detail in this article.
See also: Windows survival skills: 8 things every PC user should know how to do
The differences between Windows Home and Pro
There are actually only a few points where the two editions differ. Here are the most important and relevant for private users:
- Bitlocker encryption, which can be used to secure the entire drive or USB sticks, is reserved for the Pro edition. Bitlocker is particularly useful for laptops so that nobody can access your data if the device is lost. However, Microsoft has added a similar function to the Home edition of Windows 11 24H2 with device encryption (point 3). This requires you to log in with a Microsoft account. Users who do not want a Microsoft account or use Windows 10 can use alternative methods (points 4 and 5).
- Hyper-V is software that can be used to virtualize operating systems. For example, you can install Linux or Windows in Hyper-V while Windows is running and use it as a virtual second system. We describe how Hyper-V can be activated in the Home edition and what the alternative Virtualbox offers in points 6 and 7.
- The remote desktop enables remote access to the desktop of another Windows computer via the network. The Home edition only offers remote support, where a user must first invite a helper before they can access the other PC. Both methods are only suitable to a limited extent for spontaneous help via the internet. Remote access only works if the necessary ports are open in the router firewall. This is not necessary for other remote assistance programs (see point 8).
- Group policies offer centralized management of user rights. They are mainly used in larger company networks in which functions can be restricted or specified on all PCs via the central server. Local group policies are a variant for computers that do not belong to a Windows domain. The editor for this can be activated in the Home edition, or an alternative tool can be used (see box “Configuring Windows with group policies”).
Encryption with Windows on-board resources
With the Home edition of Windows 10 and 11, you cannot encrypt drives with Bitlocker. However, it is possible to integrate encrypted external hard drives or USB sticks into the file system. Encryption must be carried out on another PC on which the Pro or Enterprise edition is installed.
If no other computer is available, use a virtual PC (point 6 or 7).
Security for external drives: Encrypt the drive with Bitlocker under Windows Pro. Although the Home Edition cannot create it, it can still integrate it into the file system.
Microsoft
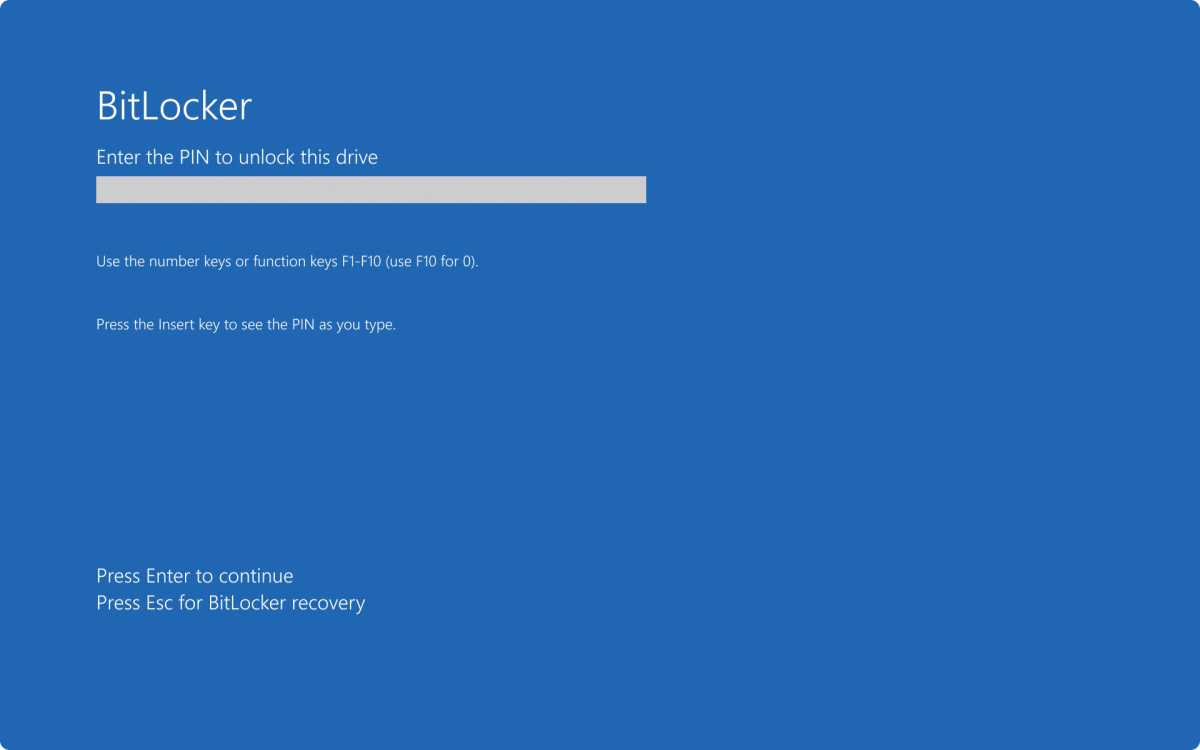
Go to “Settings” (Win-I), search for Bitlocker and click on “Manage Bitlocker.” Click on the desired drive and then on “Activate Bitlocker.”
Tick the box “Use password to unlock the drive” and enter a sufficiently secure password. After clicking on “Next,” save the recovery key in a file, for example. Follow the further instructions of the wizard.
A drive encrypted in this way can also be used with the Home edition. If you open it in the file manager by double-clicking on it, Windows will ask you for the password.
Device encryption of Windows 11 24H2
Microsoft has equipped Windows 11 24H2 Home with a new function that can be used to encrypt the system drive. Bitlocker provides the basis, albeit with fewer options than the Pro edition. Windows login with a Microsoft account is also required.
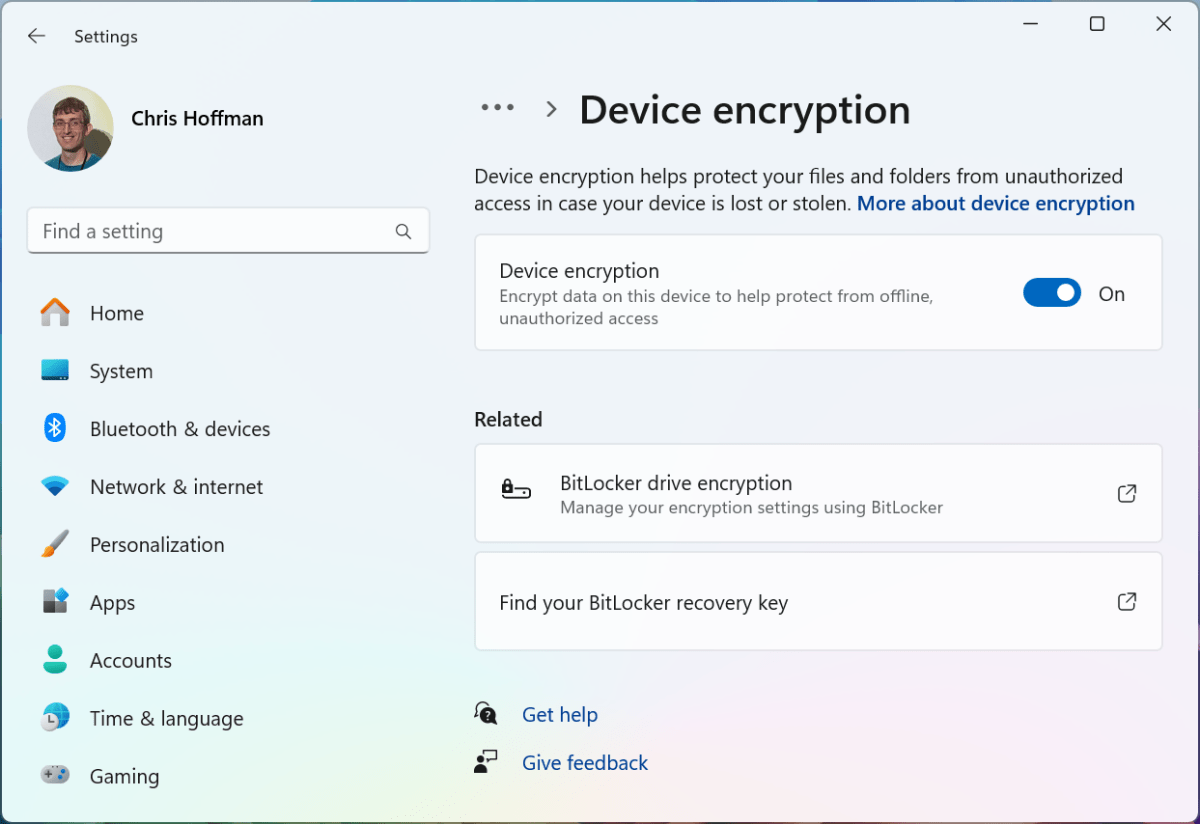
In Windows 11 24H2 Home: Activate “Device encryption” in the “Settings” if you want Windows to encrypt the system partition. A Microsoft account is required for this.
Chris Hoffman / IDG
If you are using version 24H2, you should check the option in the “Settings” under “Privacy and security > Device encryption.”
If “Device encryption” is not displayed, the system requirements for Windows 11 are probably not met. Then check in the firmware settings of the PC whether TPM and Secure Boot are activated.
If you activate device encryption, you should save the associated recovery key. You can determine the key via account.microsoft.com/devices/recoverykey after logging in with your Microsoft account.
The recovery key is required so that you can access your data via a rescue or secondary system in the event of Windows or hardware problems.
See also: How to make Microsoft Windows services work for you
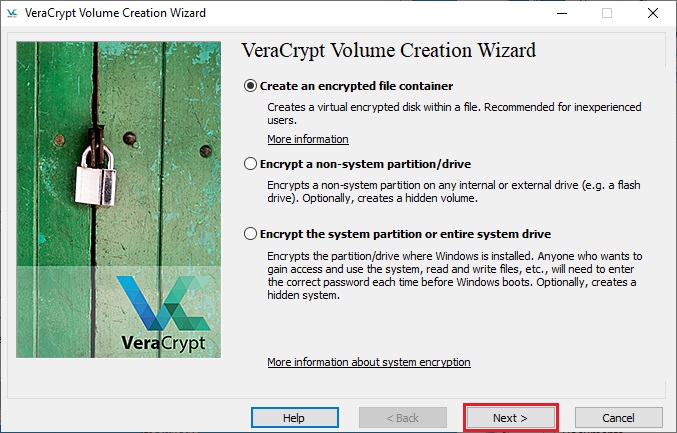
Encrypt drives with Veracrypt
If you don’t want to or can’t use Bitlocker or device encryption, Veracrypt is an almost equivalent alternative. The tool also has the advantage that it is available for Linux and Mac OS. You can also use it to integrate encrypted Windows drives under these systems.
In terms of security, it is difficult to compare Bitlocker and Veracrypt. With the open source tool Veracrypt, you can examine the source code and check the code quality and implementation of the algorithms. This is not possible with Bitlocker.
Neither method can promise 100 percent security — ultimately, the use of any software is a question of trust.
A study conducted by the Fraunhofer Institute for Secure Information Technology (SIT) in 2020 is entitled “VeraCrypt with minor flaws.” No serious vulnerabilities were found.
Veracrypt is not as well integrated into the system as Bitlocker. It is somewhat cumbersome to use and you have to enter the password for decryption every time you restart Windows. For security reasons, the password should be more than 20 characters long and sufficiently complex.
If this is too much effort for you, you should consider whether you really need to encrypt the entire hard drive. Perhaps the solution presented in point 5 will suffice. Please also note that Veracrypt only requests the password on a restart. When reactivating after “Sleep,” only the Windows password is requested by default.
If you want to encrypt the system partition, proceed as follows:
Step 1: The use of Veracrypt is considered secure. Nevertheless, it is advisable to create a complete backup of the Windows partition or at least the personal files.
If, for example, the power fails during encryption, the files on the hard drive will no longer be readable. Also have a USB stick ready that is formatted with the FAT32 file system.
About 5MB of free space is sufficient and you can also use the stick for other purposes.
In Veracrypt you will have to create a sufficiently long password for an encrypted drive to be used every time you restart your computer.
Veracrypt
Step 2: In Veracrypt, go to “System > Encrypt system partition/system drive.” Follow the easy-to-understand instructions of the wizard. You can accept the defaults almost everywhere.
When entering the password, please note that the Veracrypt bootloader works with the U.S. keyboard layout. The program takes this into account and switches the keyboard layout when entering the password. Tick the “Show password” box to see the actual password.
Step 3: The wizard prompts you to create a rescue data carrier. By default, Veracrypt saves the required file under the name “VeraCrypt Rescue Disk.zip” in your “Documents” folder.
Unzip the file and copy the “EFI” folder it contains to your FAT32-formatted USB stick. After clicking on “Next,” the wizard will check whether the folder is present.
Step 4: In the “System encryption pre-test” step, click on “Test.” Read the description, which is best printed out. Click on “Yes” when you are prompted to restart the PC. Type in the password and confirm with the Enter key.
If Veracrypt does not accept the password, for example if it is entered incorrectly, press the Esc key. Windows will then start as usual from the previously unencrypted hard drive and you will have to configure the encryption again.
Otherwise, Windows will start after you enter the password. After Windows logon, the “Pre-test completed” window appears automatically, in which you click on “Encrypt.” Veracrypt then starts the encryption process, which may take some time. A window will inform you of the progress.
Step 5: Try booting from the rescue drive. You may need to change the boot sequence in the firmware setup. The rescue system offers a simple menu that can be used to repair the Veracrypt boot loader, load an alternative boot loader, or decrypt the system partition.
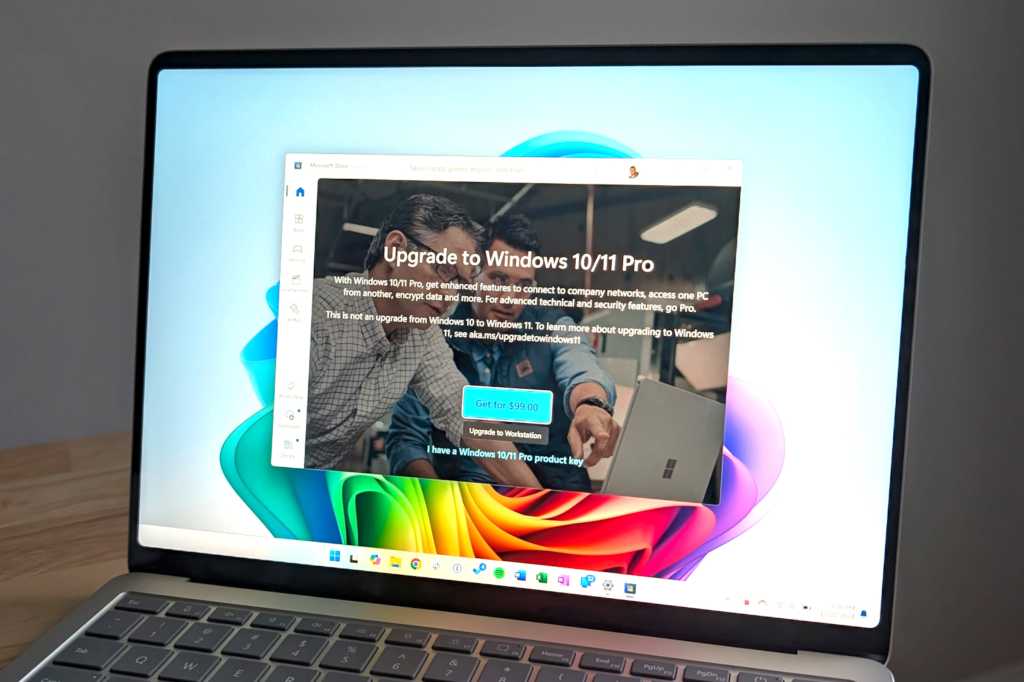
Upgrade from Windows 11 Home to Pro
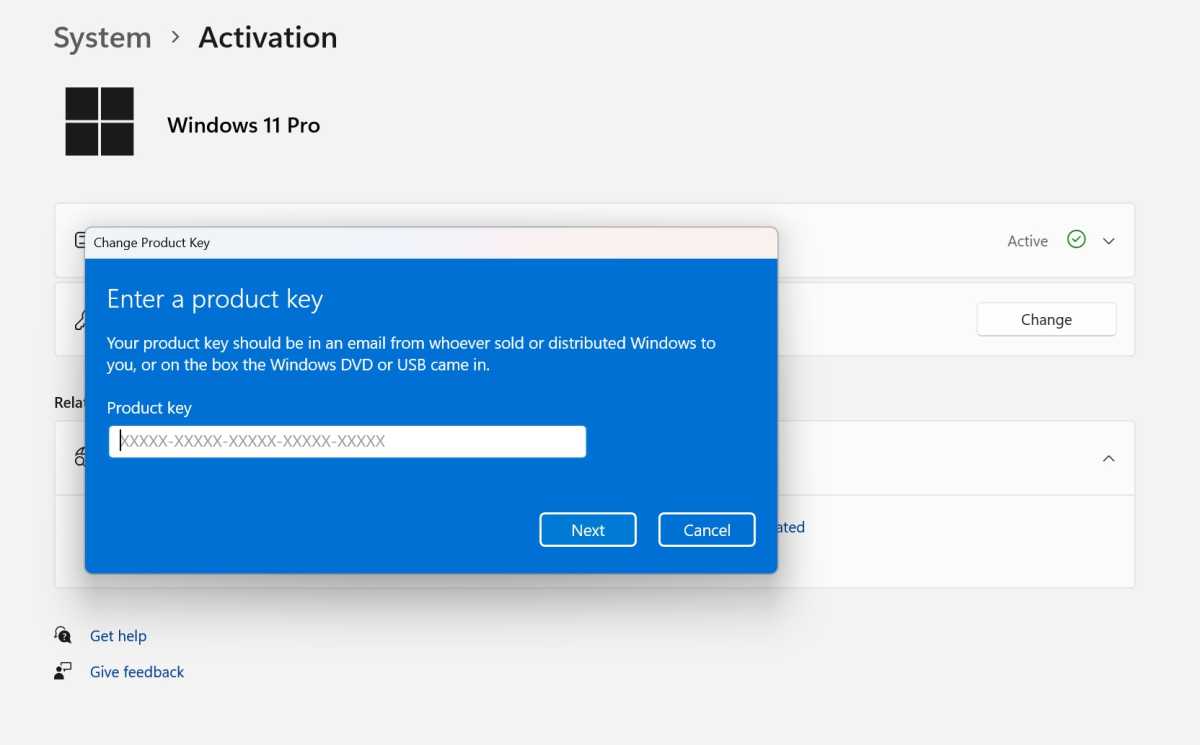
The Home edition can be converted to a Pro edition without reinstallation. All you need is a new product key.
Microsoft currently charges $99 for the upgrade in the official store. In the PCWorld shop, however, you can get the official upgrade for just $59.
If you have purchased a Pro key, go to “System” in the “Settings” under Windows 11, click on “Activation” and then on “Update Windows Edition.” Click on “Change” after “Change product key” and enter the new product key.
Foundry
Encrypted container with Veracrypt
If you encrypt your Windows partition, you no longer have to worry about the security of individual files. On the other hand, it is not particularly convenient to have to enter a long and complicated password when restarting the system.
For more security, only encrypt the files that are really worth protecting. To do this, use Veracrypt to create an encrypted container file that holds the sensitive files.
Secure container: Create an encrypted container file with Veracrypt. Store sensitive and important documents in it. The file can be stored on any drive.
Veracrypt
Step 1: In Veracrypt, go to “Volume > Create new volume.” Leave the first option “Create encrypted container file” and click on “Next” and again on “Next.”
Step 2: Specify the storage location and file name after clicking on “File.” Follow the further instructions of the wizard.
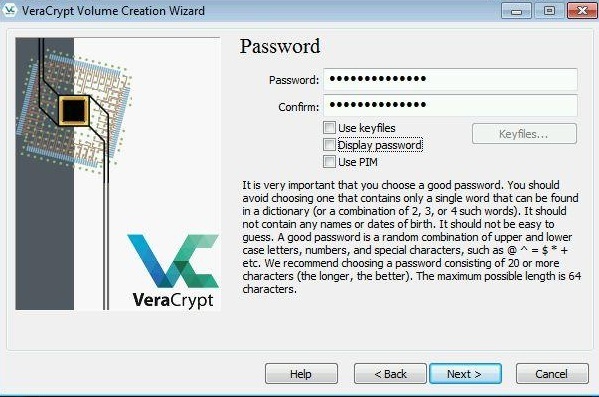
Step 3: In the “Volume password” window, enter a sufficiently complex password with 20 characters or more. If you tick the “Show password” box, you can check the entry.
Step 4 (optional): You can also use a short password or a PIN if you also create a key file. To do this, tick the box next to “Use key file” and then click on “Key files.”
Click on “Create key file(s)” and generate the entropy by moving the mouse. Enter a name for the key file, click on the “Create and save key file(s)” button and select the storage location.
Save the file to a USB stick. The container cannot be unlocked without the stick or the key file in combination with the password.
Close the window, click on “Add files,” select the key file you have just created, and click on “OK.” Continue with the wizard.
Step 5: In the Veracrypt main window, click on a free drive letter, go to “Volume > Select file” and specify the file created in Step 2. Then click on “Volume > Mount volume” and enter the password.
If you created a key file in step 4, tick “Use key file,” click on “Key files,” and specify the file via “Add files.”
Step 6: For faster access to the encrypted container, right-click on the (virtual) drive in the Veracrypt main window and select “Add to favorites” in the context menu.
Tick the box “Mount selected volume at login” and confirm with “OK.” Veracrypt then automatically opens a window for entering the password after the Windows logon.
If you are using a key file, you should specify this via “Settings > Default key files.” Otherwise, you will have to select the file each time in the password entry window. You can specify the same key file when creating further data containers.
Virtual second PC with Virtualbox
Virtualbox is open source software and therefore available free of charge for all Windows editions. The range of functions corresponds roughly to Microsoft’s Hyper-V. Install Virtualbox and the Virtualbox extension package, which is required for some functions, such as remote access and encryption of virtual hard disks.
Click on the “New” button to start a wizard for setting up a virtual machine in Virtualbox. You enter the ISO image with the installation system and specify the operating system and the size of the RAM and virtual hard drive.
After completing the wizard, click on “Start” and install the operating system as usual.
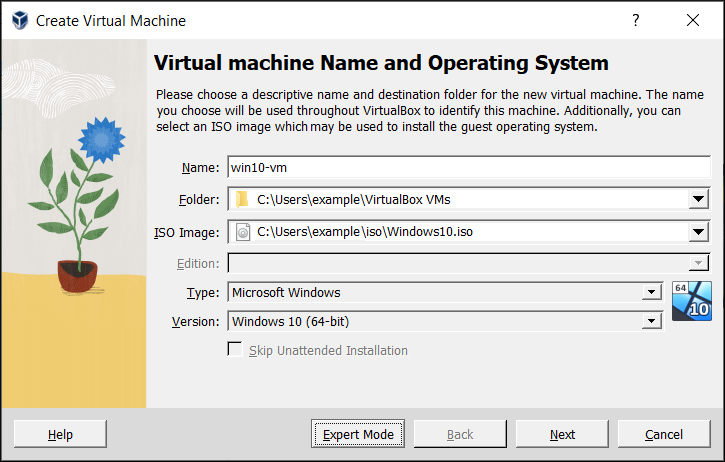
Configure VMs with Virtualbox: A wizard supports you with the installation of the system. You will need the ISO file of the Linux or Windows installation system, for example.
Oracle
In the virtual machine window, go to “Devices > Insert guest extensions” and install the guest extensions from the virtual DVD drive. The optimized drivers ensure better graphics performance, for example.
Remote access or remote maintenance via the network
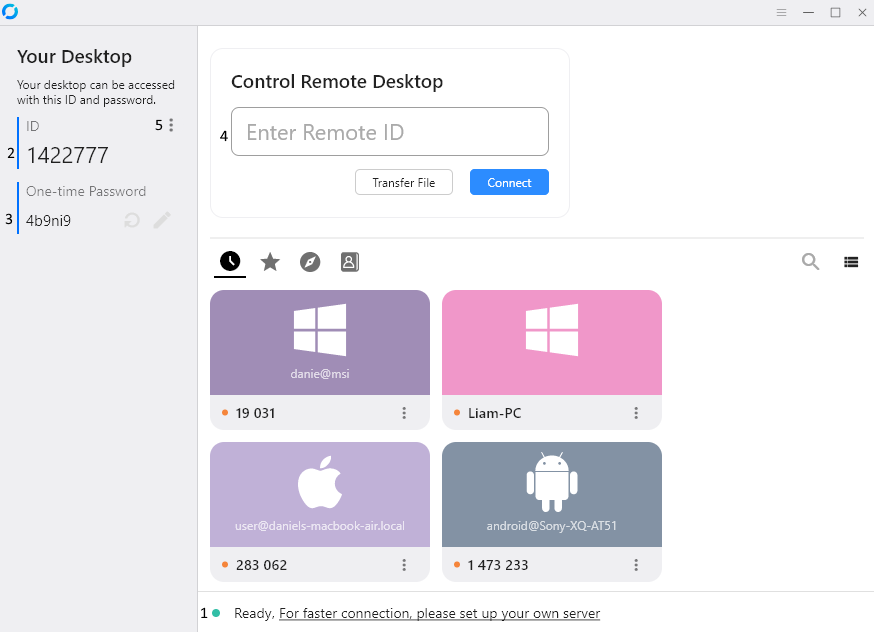
Remotely control another PC: The free Rustdesk enables access to a remote desktop. This works in the local network and also over the Internet without further configuration.
Rustdesk
You do not have to rely on the remote desktop connection of the Pro edition for remote access. There is plenty of software for this task. For example, the open source solution Rustdesk is free of charge.
The program does not require a firewall configuration. The connection is established in encrypted form via the provider’s switching server.
The program works without installation — the people involved only need to start it. The person seeking help tells you the ID and password displayed. You then establish the connection, which the person on the other PC must confirm.
Actions that require increased rights must also be confirmed. For convenient use, however, you should install Rustdesk using the button at the bottom left of the window. This also enables unattended access to a computer. You must set a password for this in the settings under “Security.”
This article originally appeared on our sister publication PC-WELT and was translated and localized from German.