How to make Generative ai Remove and not replace in Photoshop
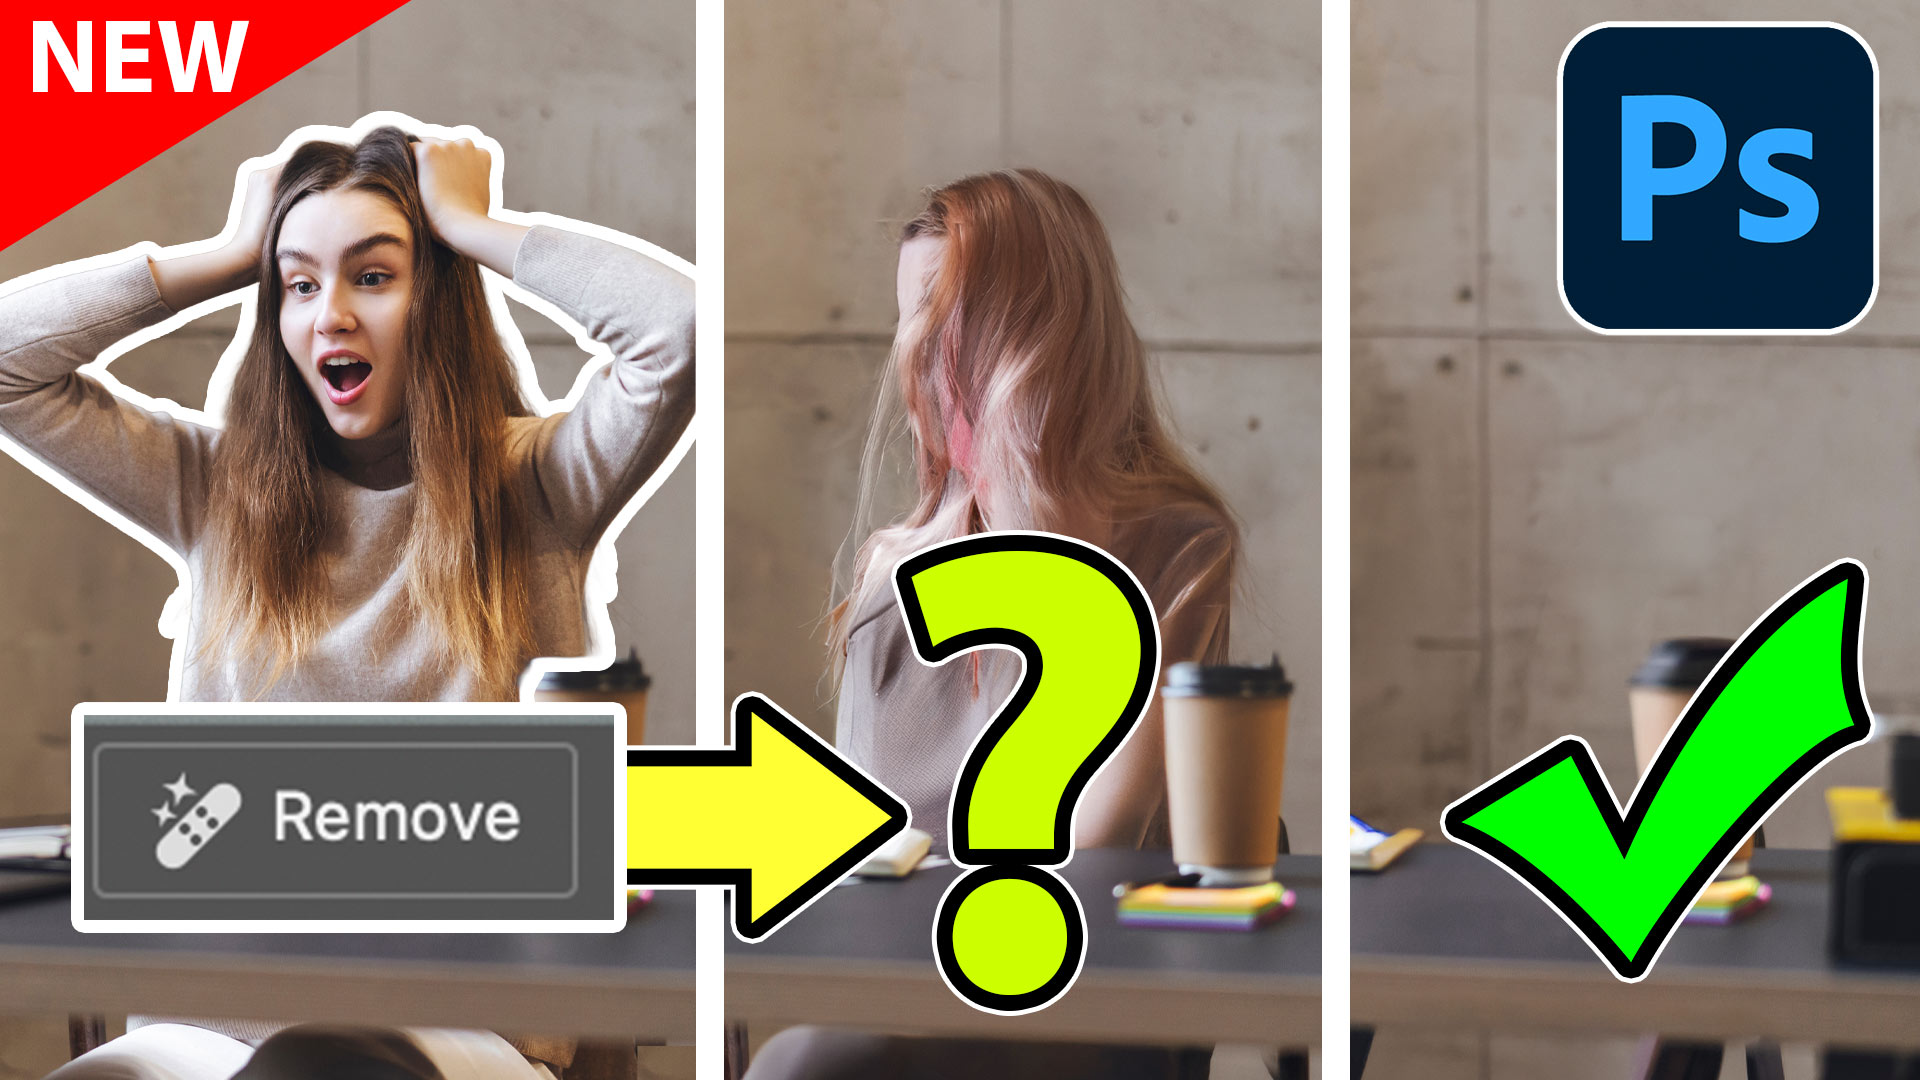
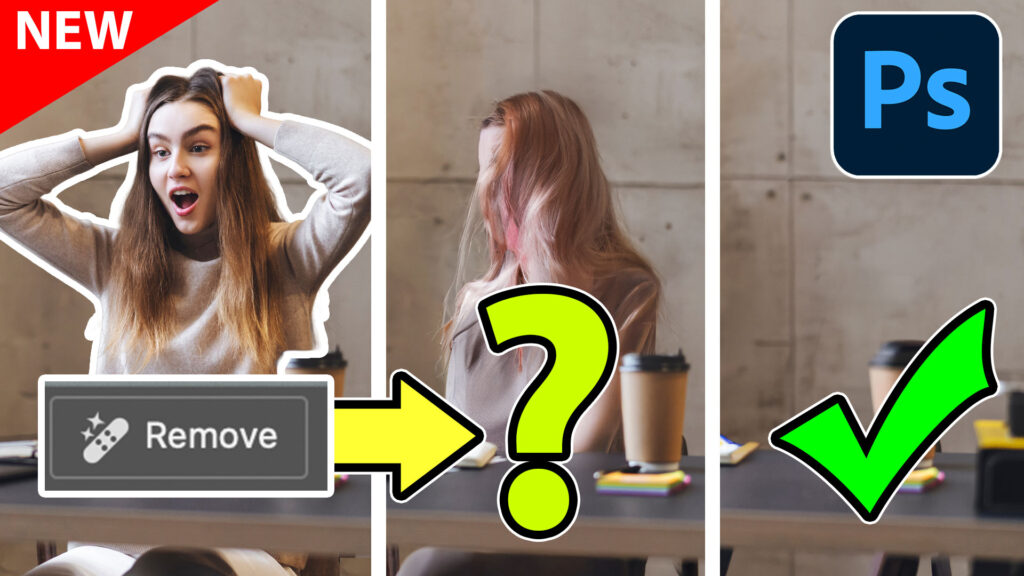
Has this happened to you? You select a distraction and then use Generative fill to remove it. Instead of removing, it replaces the area with something weird.
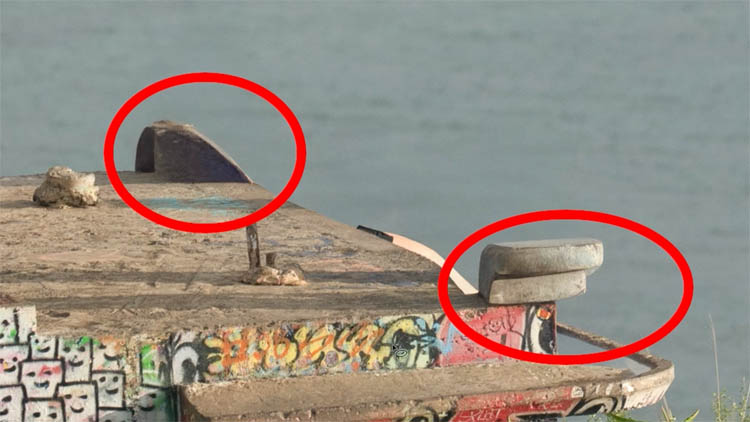
You see it here on the thumbnail. We go to remove the woman and end up with something weird like the second frame, instead of removing in the 3rd frame. We will fix that in this tutorial.
The feature we are using is currently only in the beta version of Photoshop. At the time of this writing, it could be in the main version when you are reading this.
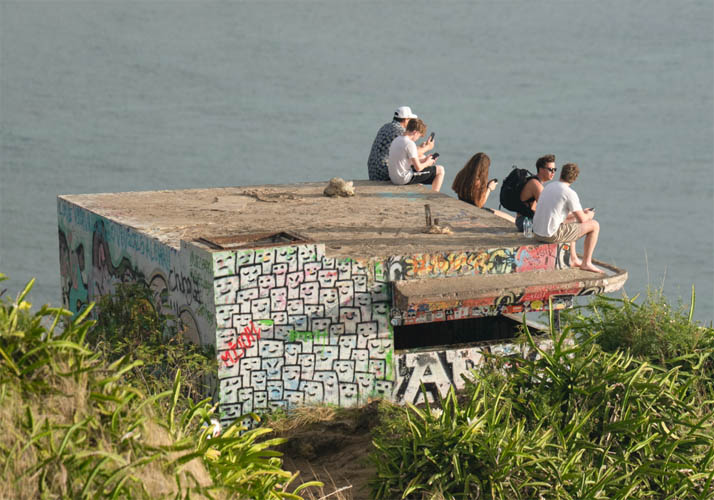
Here’s a zoom in of a photo, I recently shot in Kailua Hawaii. We want to remove the people from the pillbox.
The quickest way to select is to use the Select People and then finish off with object selection tool.
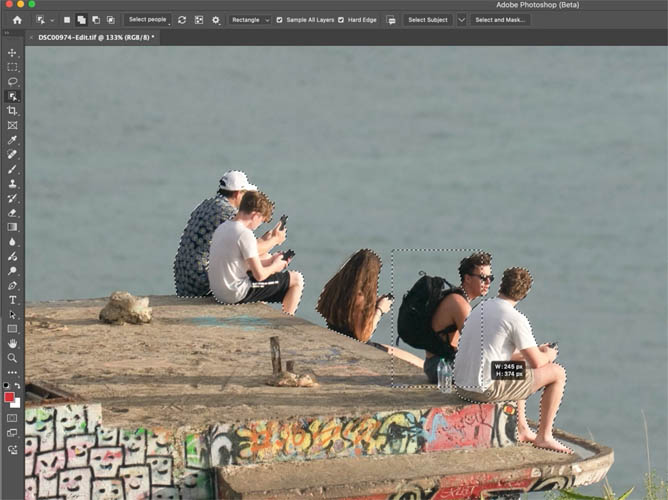
We get a quick tight selection which is good because we have preserved most of the subject and not replacing anything we don’t need to.
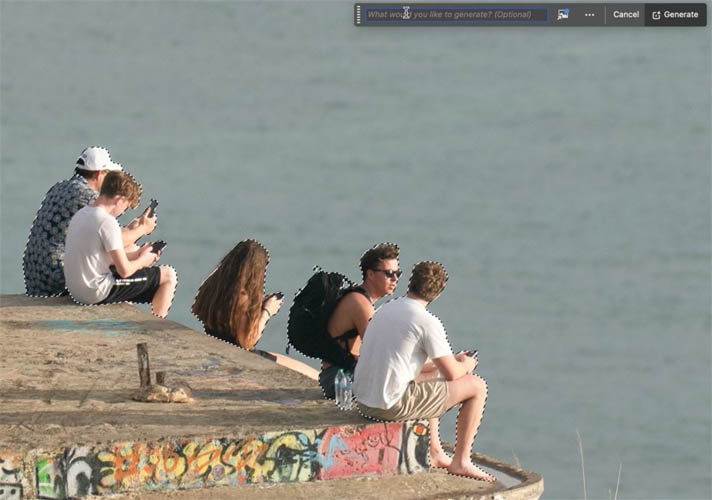
The disadvantage of a tight selection manifests when we use Generative Fill. I’ve found if the selection id too tight to too close to the shape of an object, it often replaces with something else, rather than removing.
To demonstrate, choose Generative Fill from the contextual task bar. Leave the prompt blank and choose Generate.
Here the people are gone, but we now have these weird concrete shapes.
It’s been stated, that perhaps the concrete shapes were generated to work with the shadows. That’s very possible (and a good call by @e1b1 on YouTube), but we still don’t want them, and that also doesn’t answer why the woman was generated in the previous example.
Let’s look at the new tool.
With exactly the same selection, open Photoshop beta and look at the contextual task bar. See the Remove button. (This also uses Gen ai, but calls up a different model that’s used by the remove tool).
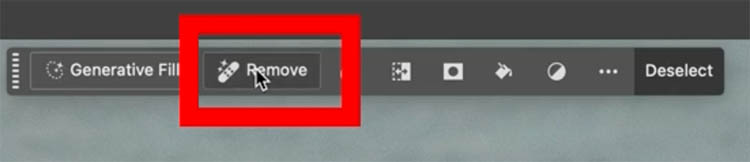
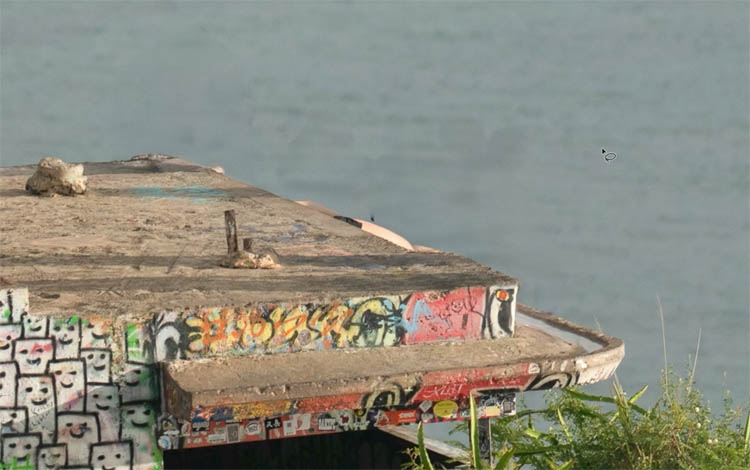
Notice it removes the people without adding any weird shapes.
(And yes, the shadows are still there, if we wanted to remove the shadows, just select them as well. I wanted to make a simple example so it’s easy to follow.)
There’s an additional advantage of using the remove option, because it uses the remove tool model, it doesn’t use any Generative credits.
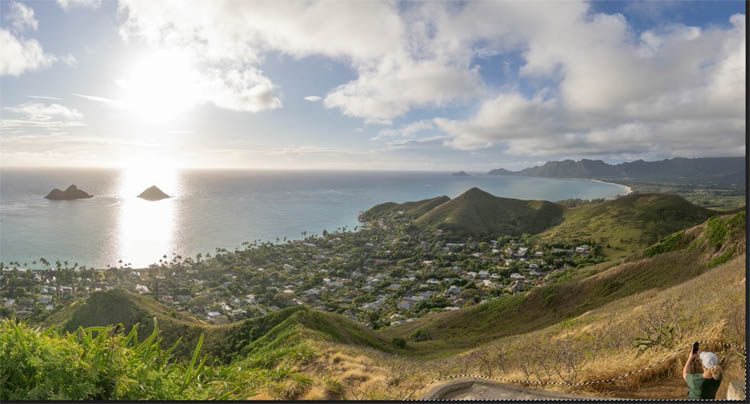
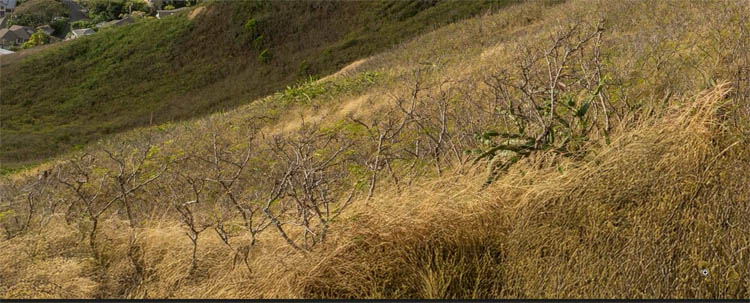
Let’s look a little closer at the results. Here is another image I shot in Hawaii. (It’s a great place to photograph content for training).
I haven’t finished working on this image yet, but one of the first things I want to do, is remove the concrete and person in the lower right corner.
Make a selection with the lasso tool.
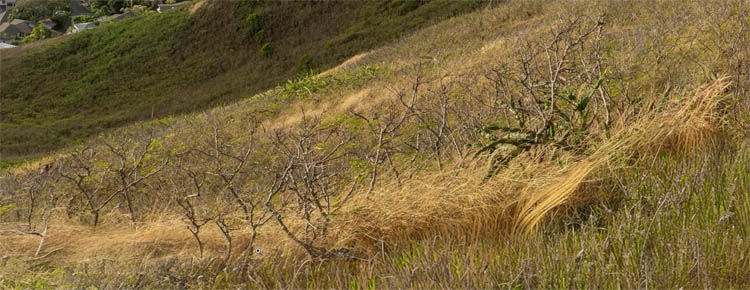
Here we removed the distraction using the Remove option. As you can see the result looks good. Let’s look a little closer.

If we zoom in we can compare the difference. (This image was a multi shot panorama, so it’s quite high res).
This is with Generative Fill. You can see the texture and resolution mismatch.
With the remove option. Notice the finer detail and smoother blending.
I encourage you to watch the video above for a closer look as well as trying this tool for yourself. Love to hear your thoughts. If you share on Social media, tag us @PhotoshopCAFE
Great to see you here at the CAFE
Colin
PS Don’t forget to follow us on Social Media for more tips.. (I’ve been posting some fun Instagram and Facebook Stories lately)
You can get my free Layer Blending modes ebook along with dozens of exclusive Photoshop Goodies here