
Added in Lightroom 6 / CC is the ability to stitch panoramic photographs together from within Lightroom. This is a great way to create sweeping vistas and wide panoramic images. You can also use this to increase the megapixel count in your images. Many people call this gigapixel imaging, because the resolution of the final image can get into the gigapixels. Watch the video and then read on for more info including panoramic shooting tips.
Shooting a panorama
Depending on the type of pano you are shooting there are different approaches. If you are shooting from a quadcopter drone, then you can either shoot each photograph while slightly rotating the aircraft to fill the scene. (I recommend and 40%-50% overlap for a goPro because you lose edges when correcting for the lens distortion). You can also create a panorama from a video as revealed in this tutorial of Balboa Island and yachts.
When you are using a DSLR Camera on a tripod, the recommendation is a 30% overlap between each photograph. If there are near and far objects, then you need to take into account parallax. Place a finger in front of your nose and close one eye. Now open your eye and close the other one. Notice how much the finger has moved in relation to the background? This is parallax. Parallax can cause doubling of objects or their removal when stitching panoramas and can be a source of frustration.
It’s easy to remove parallax when shooting by rotating your camera on the nodal point, rather than the middle of the body where it attaches to the tripod. The nodal point in near the back of the lens at the point of no parallax. Special panoramic heads are available for people who are serious about shooting panos. These heads allow back and forth adjustments so that you are rotating on the nodal point of the camera. Randy Hufford explains this in depth and uses the Nodal Ninja on his training video Shooting and Processing HDR Panoramas.
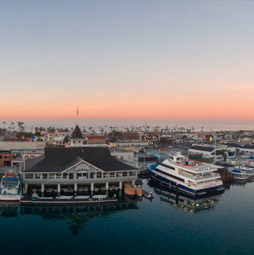
Take a camera and shoot multiple photos, panning a little bit in between to create a sweeping panorama. In this case I have shot these images from the air, using a quadcopter drone. (how to create aerial panoramas).

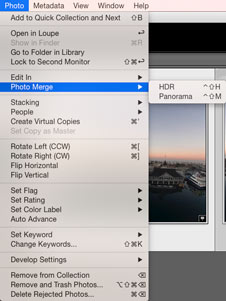
1. Choose Photo>Photo Merge>Panorama
Tip: (Ctrl+Shift+M for headless mode this allows background processing while you are doing other things in Lightroom, such as stitching more panoramas)
2. Lightroom stitches the images together into a preview
You can change the projection type so see different results. Auto works well most of the time.
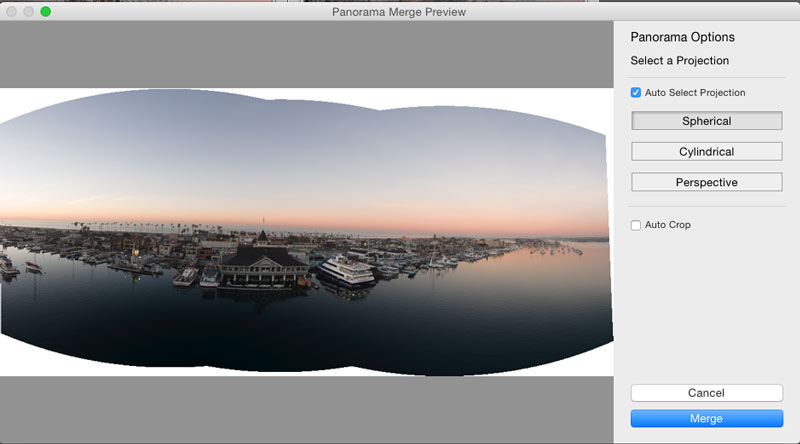
Auto Crop will hide all the transparency around the edges. Don’t worry, it’s non-destructive so you can change your mind later. Note: There is also a new auto option in the crop tool itself which does the same thing. Watch the video above to see it in action.
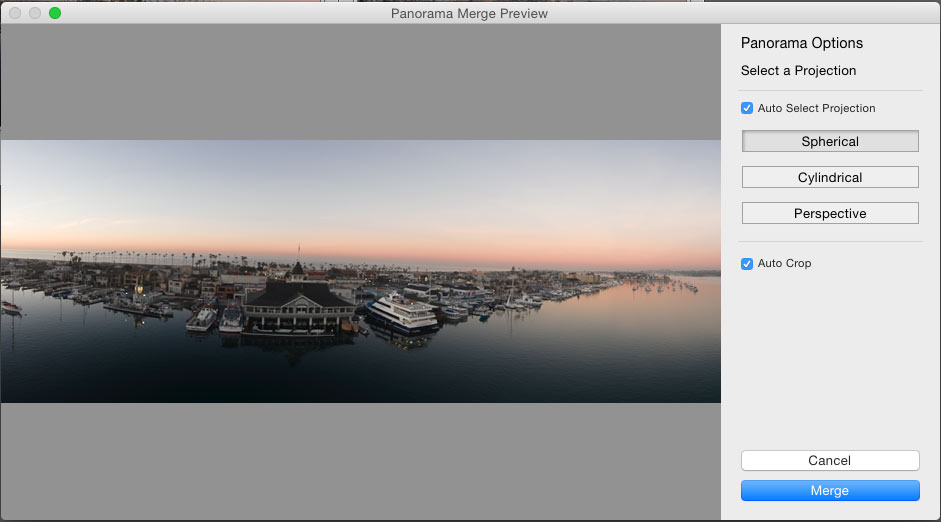
3. Click Merge to create a new DNG file of the merged images
You can process the panorama just like a regular image in Lightroom to get some decent results.
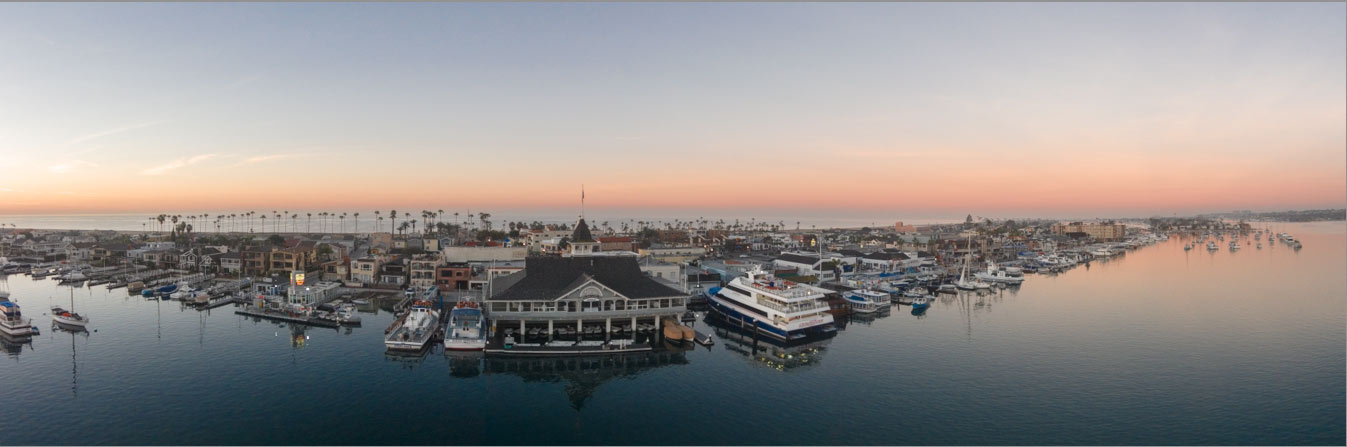
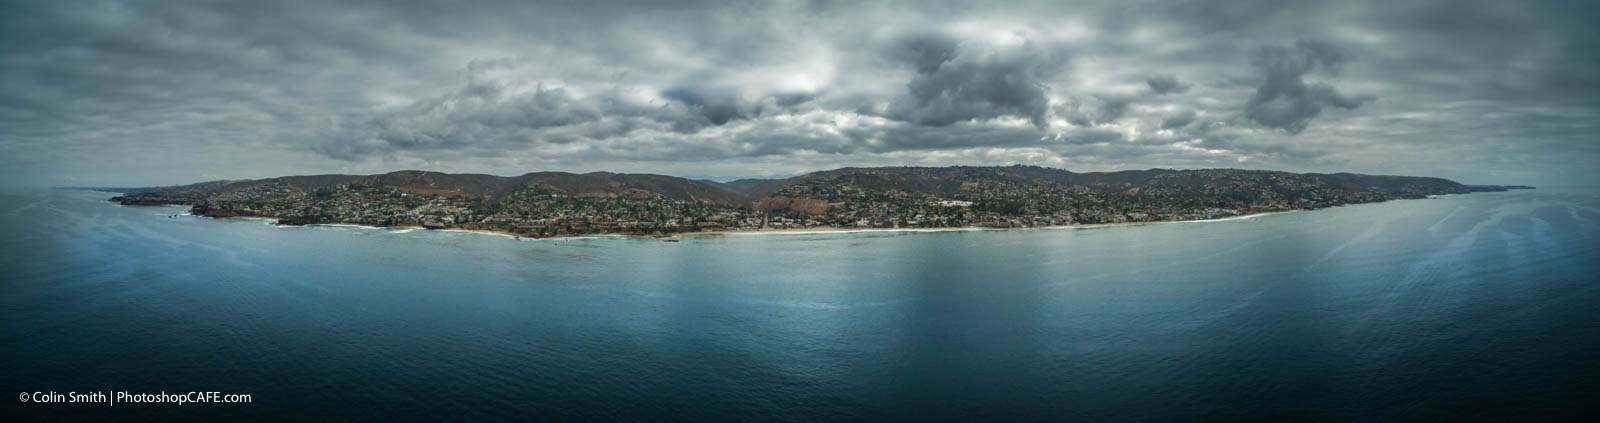
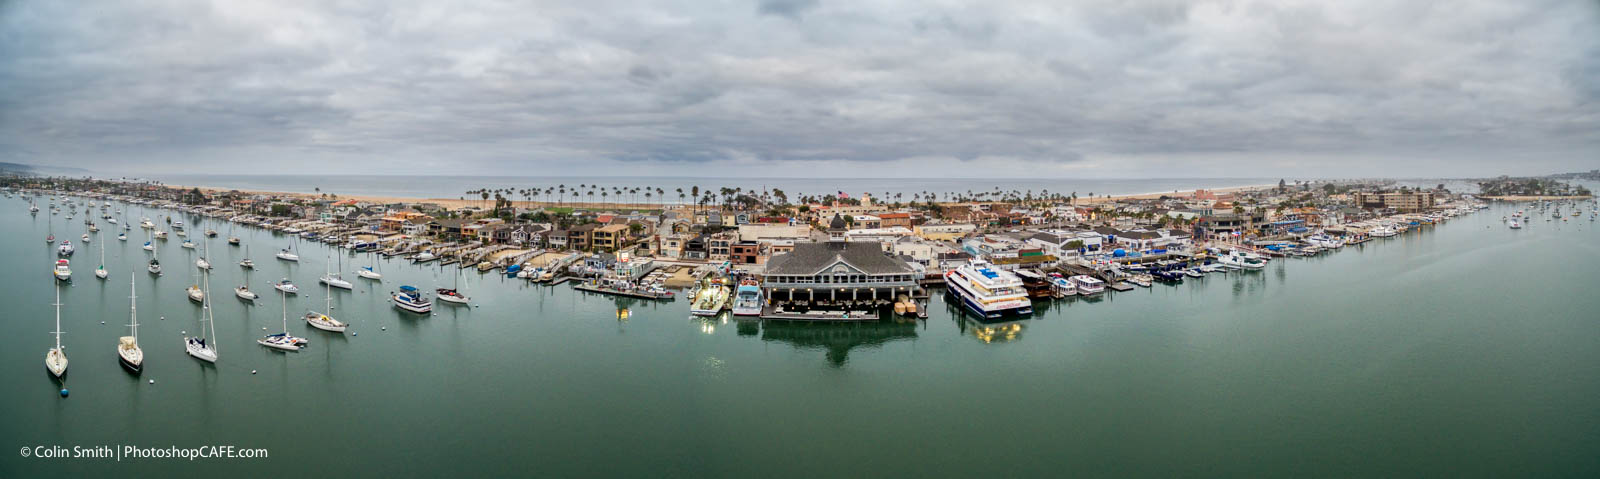
Here are a few of my Panoramic Photographs. For more. see my gallery

For all the features in Lightroom 6: Don’t forget to check out our free Lightroom CC / 6 Learning Center
 |
HDR, Panorama and Timelapse.
|
Get your free presets pack
You can download some free goodies, get the actions pack and the free ebook at https://photoshopcafe.com/freepresets
See previous Lightroom content
Lightroom 2: interviews with Product managers, filter bar
Lightroom 3: Tethering, connect to social networks, importer, smart collections
Lightroom 4 mapping, develop settings, video, books, soft proof
Lightroom 5 Launch site
free Lightroom resources
Learn Lightroom in 15 minutes!
For lots more free Lightroom tutorials go here.
PS Don’t forget to follow us on Social Media for more tips.. (I’ve been posting some fun Instagram and Facebook Stories lately)
You can get my free Layer Blending modes ebook along with dozens of exclusive Photoshop Goodies here 


