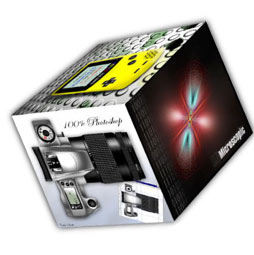
3D Cubes Photoshop Tutorial – PhotoshopCAFE
If you are looking for skills that will help you in creating cubes, and understanding gradients etc, this tutorial is perfect for you. However, if you are wanting to make 3D photo […]

If you are looking for skills that will help you in creating cubes, and understanding gradients etc, this tutorial is perfect for you. However, if you are wanting to make 3D photo […]

Step 1 To start with you will need 2 pictures. I chose a picture of a hot rod and a person To remove the person from the background, use my extract tutorial here. […]
Step 1 Begin with a cylinder. or make your own with the gradient tool. If you make your own, set the gradient to reflected and linear. Step 2 Open the object you […]
Times really have changed! Only a few years ago it was par for the course to travel across town (or the country) lugging a heavy portfolio case full of treasured works, or […]

Cutting things out in Photoshop has to be one of the most requested tutorial topics. This tutorial is for older versions of Photoshop (CS4 and earlier), as the extract tool was replaced […]
Step 1 You know the drill by now, make a new document and drag and drop both images into the document. Create a new layer for the back ground and fill […]
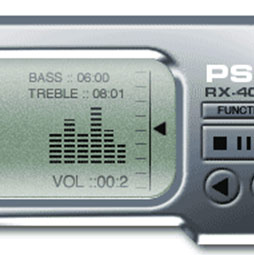
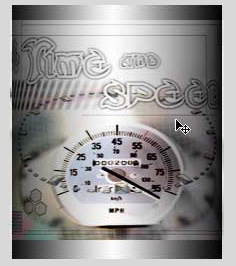
0 SHARES ShareTweetPinterestLinkedin GoogleWhatsappDiggRedditStumbleuponDeliciousTumblrFlipboard This is Part 4 of a 4 part tutorial 1 The basic shape 2 adding depth 3 LCD display 4 buttons Are you ready to wrap up this puppy? […]

This is Part 3 of a 4 part tutorial We are now exactly at the half-way point in finishing our interface, once you finish this tutorial though we will be 3/4 of the […]

This is Part 2 of a 4 part tutorial 1 Begin with the shape you created last tutorial.Make a selection by Cmd/ctrl+clicking on the layer thumbnail 2 Now open the dreaded channels palette. […]

How to make a realistic looking 3D interface in Photoshop This is Part 1 of a 4 part tutorial 1 The basic shape 2 adding depth 3 LCD display 4 buttons Step […]